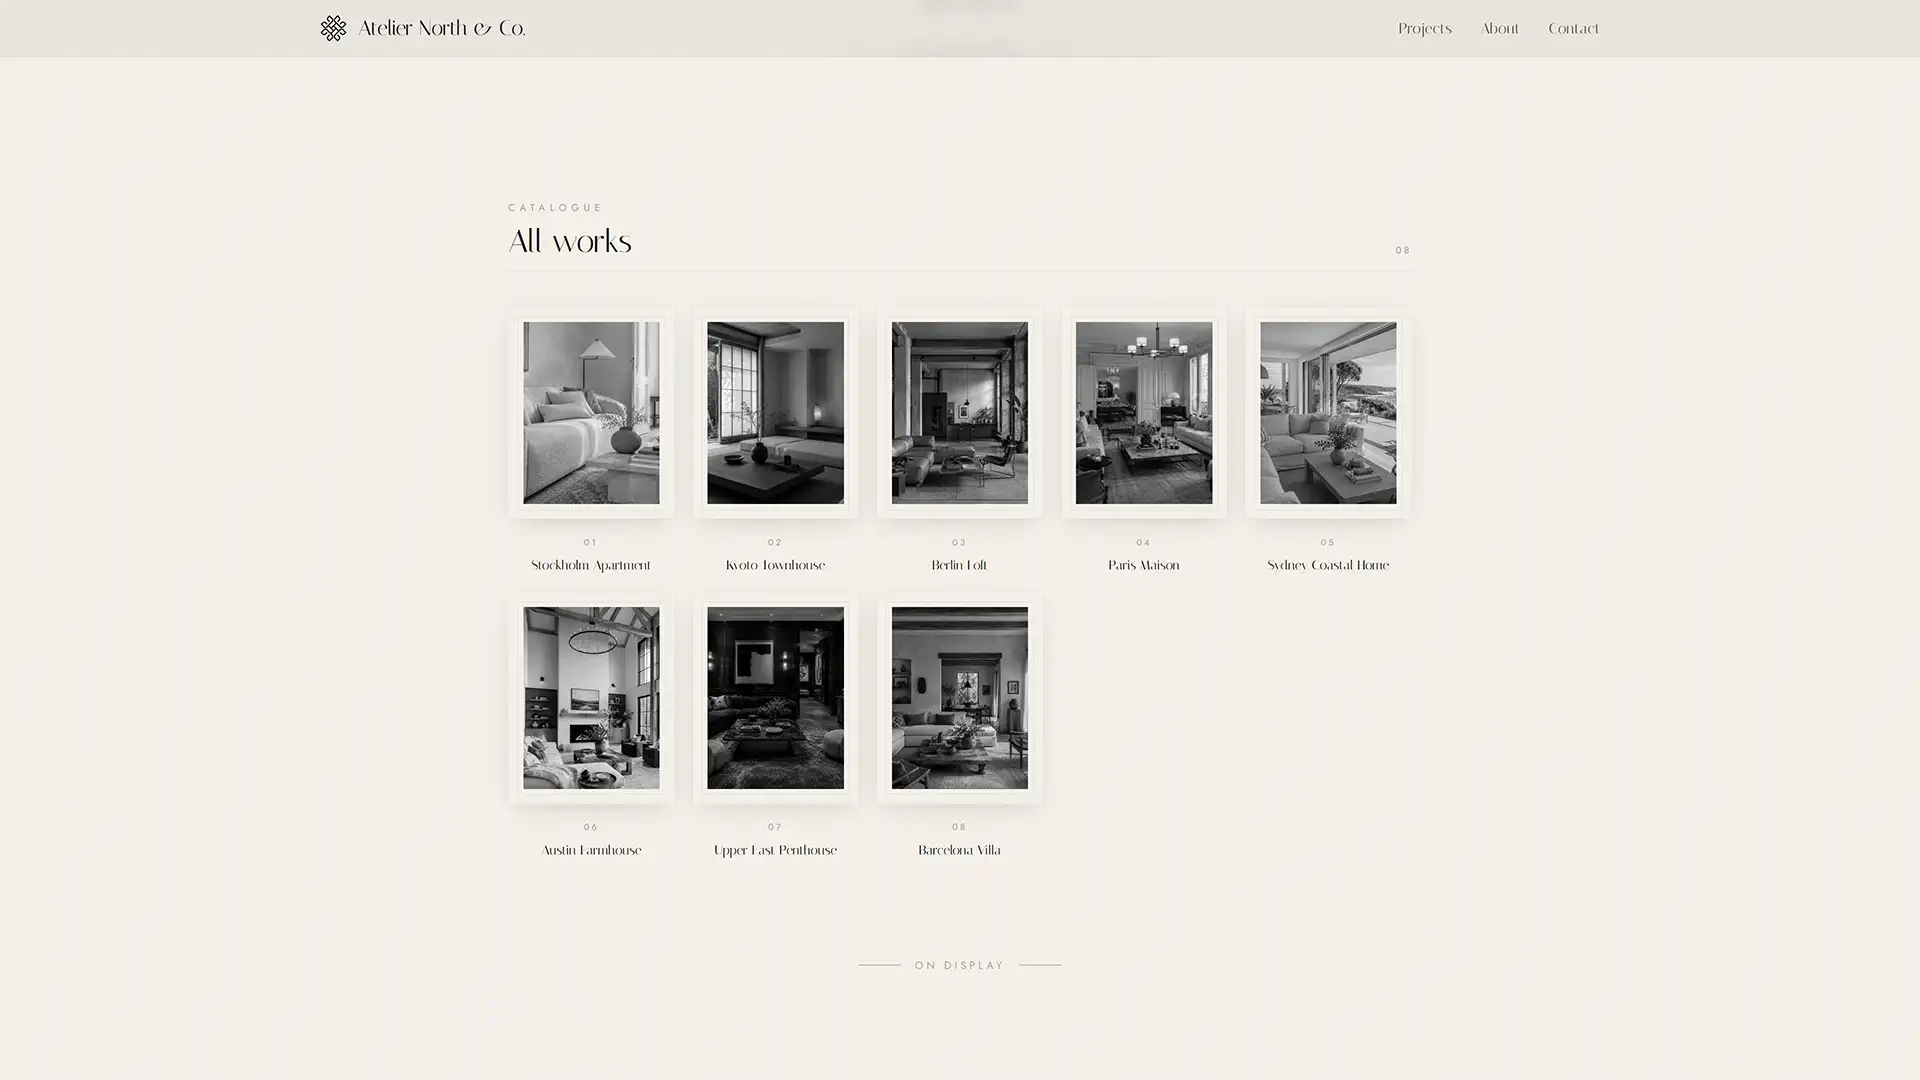
Learning how to make an interior design portfolio feels daunting until you break it into stages. It
is not one giant creative project — it is six clear, repeatable steps, and you can complete most of them
in an afternoon once your material is gathered. This guide walks through the entire process, from choosing
which projects to show to publishing and sharing the finished site. Each step links to a section
anchor so you can jump straight to what you need.
If you want the strategic background first — what a great portfolio includes and why — read our
companion pillar on the interior design portfolio. Otherwise, let's get
into how to create your interior design portfolio, step by step.
What you'll need before you start
A little preparation makes the build itself fast. Before you open any tool, gather:
- Your photography — the best available images of each project, ideally high-resolution and
consistently lit. This is usually the part that takes longest, so start here.
- Project facts — for each project, jot down the location, year, approximate square footage, room
types and the services you provided. You will turn these into project meta.
- A few notes per project — the brief, the main challenge and what you changed. Rough bullet
points are enough; you will shape them into narratives in Step 2.
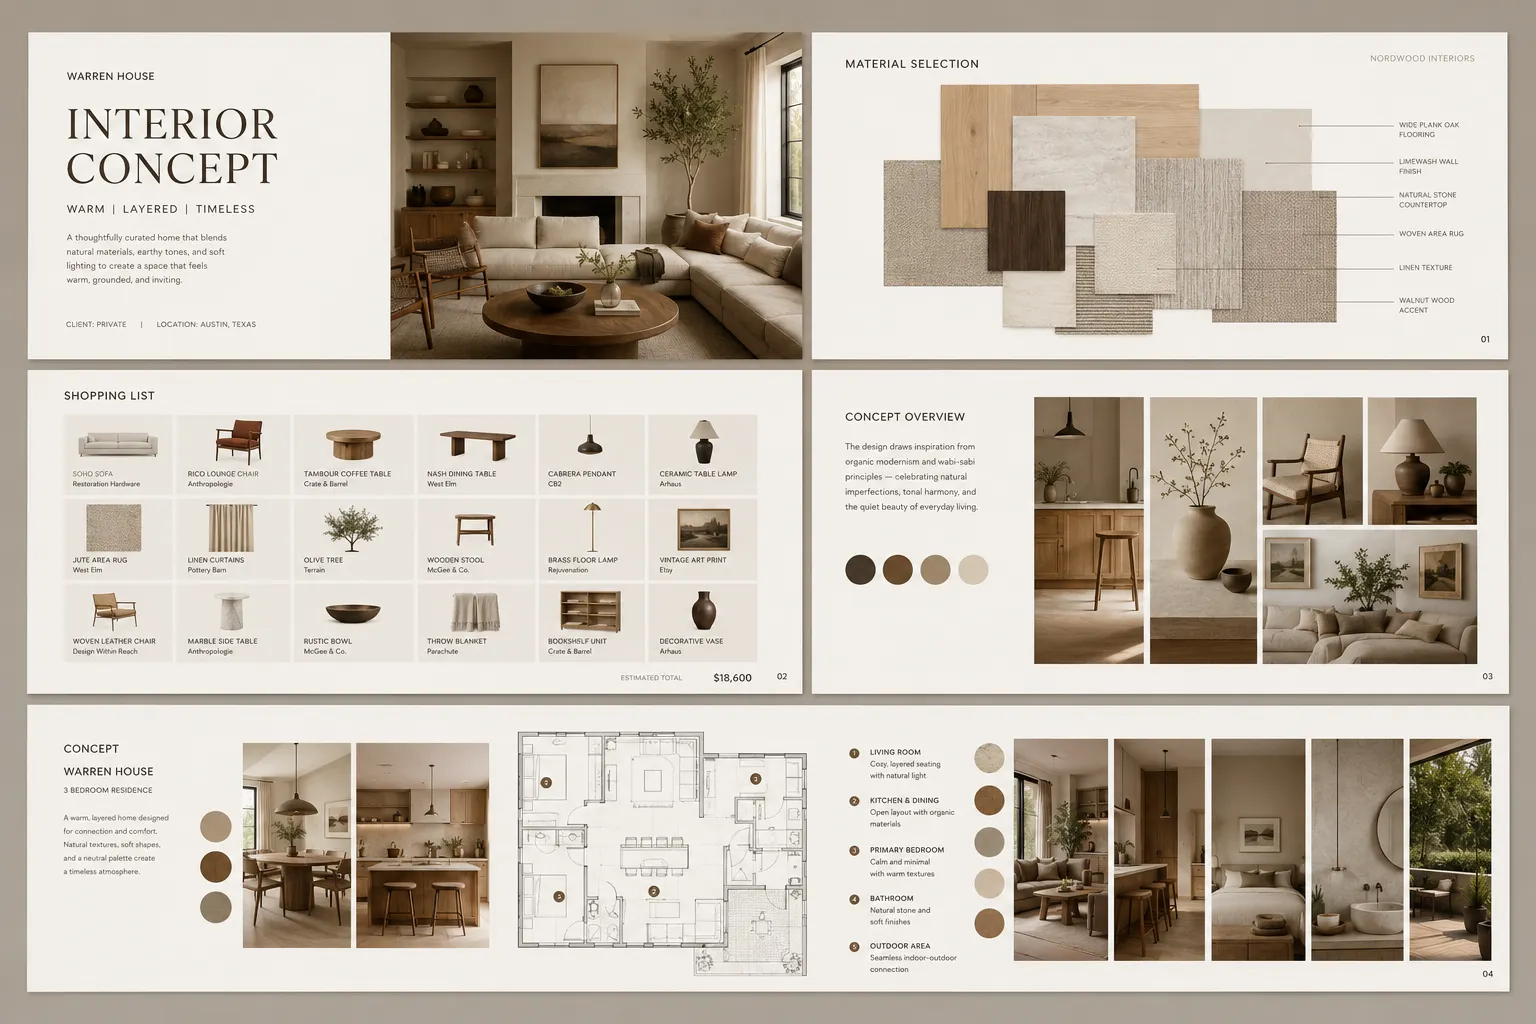
- Supporting material — any floor plans, mood boards, sketches or material palettes that show
your process.
- Your bio essentials — a professional photo, your training or credentials, and a sentence on
your design philosophy.
With these in hand, the build is mostly assembly. Without them, you will stall halfway through — so
spend an hour collecting your material first and the rest goes quickly.
Step 1 — Choose your best projects
Start by selecting the work that represents you best, not everything you have ever touched. Aim for
8–12 strong projects (4–6 if you are early-career). The opening project sets the standard for
everything after it, so lead with your single strongest piece.
When you choose, balance three things:
- Quality — only work you are genuinely proud of, with good photography available.
- Range — enough variety to show you can handle different rooms, styles or budgets, without
becoming scattered.
- Relevance — weight your selection toward the kind of work you want more of. If you want luxury
residential clients, lead with luxury residential.
No client work yet? Student projects, personal spaces, styling jobs, concept boards and speculative
redesigns all count when presented professionally. The portfolio proves skill and taste, not the
length of your client list.
A quick curation test. For each candidate project, ask three questions: Is the photography good
enough to represent me? Does it show work I want more of? Is it at least as strong as the others I am
including? If a project fails any one of them, leave it out. The instinct to include everything is
the single most common mistake — every weak project quietly lowers the perceived quality of the
strong ones around it. When in doubt, cut.
Step 2 — Tell the story of each project
A grid of pretty images leaves clients guessing what you actually did. Context is what turns a photo
into proof of skill. For every project, write a short narrative covering:
- The brief — what the client wanted and the constraints you worked within.
- The challenge — the problem you had to solve (an awkward layout, a tight budget, poor light).
- Your approach — the key design decisions and why you made them.
- The result — the outcome, ideally with a before-and-after to make the transformation tangible.
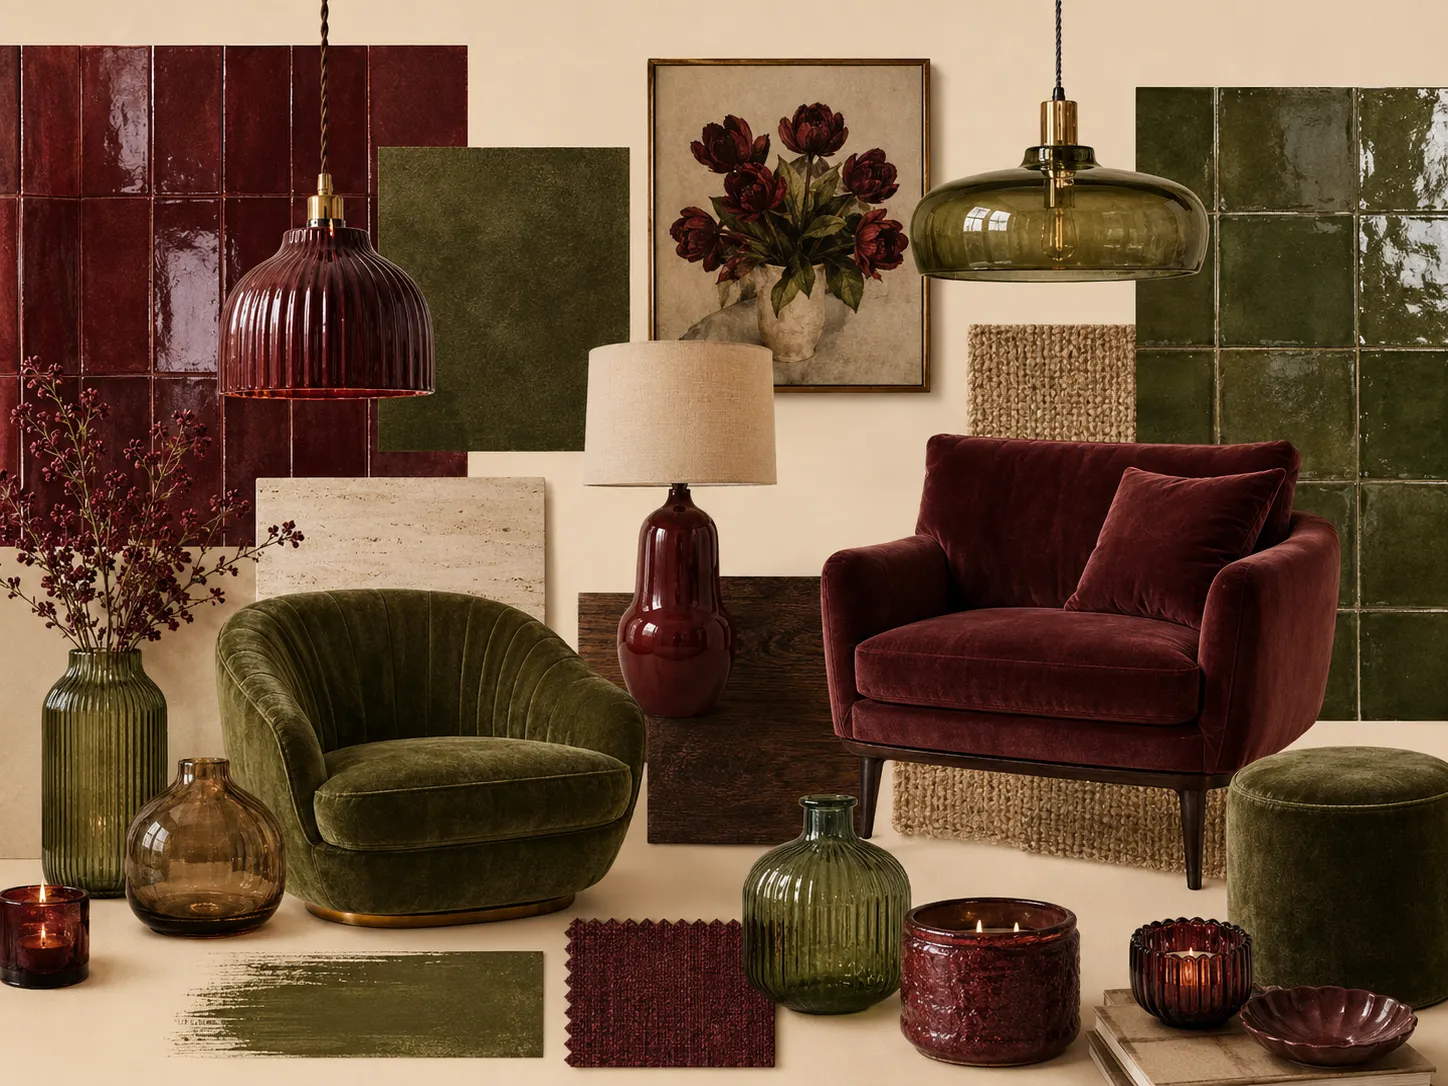
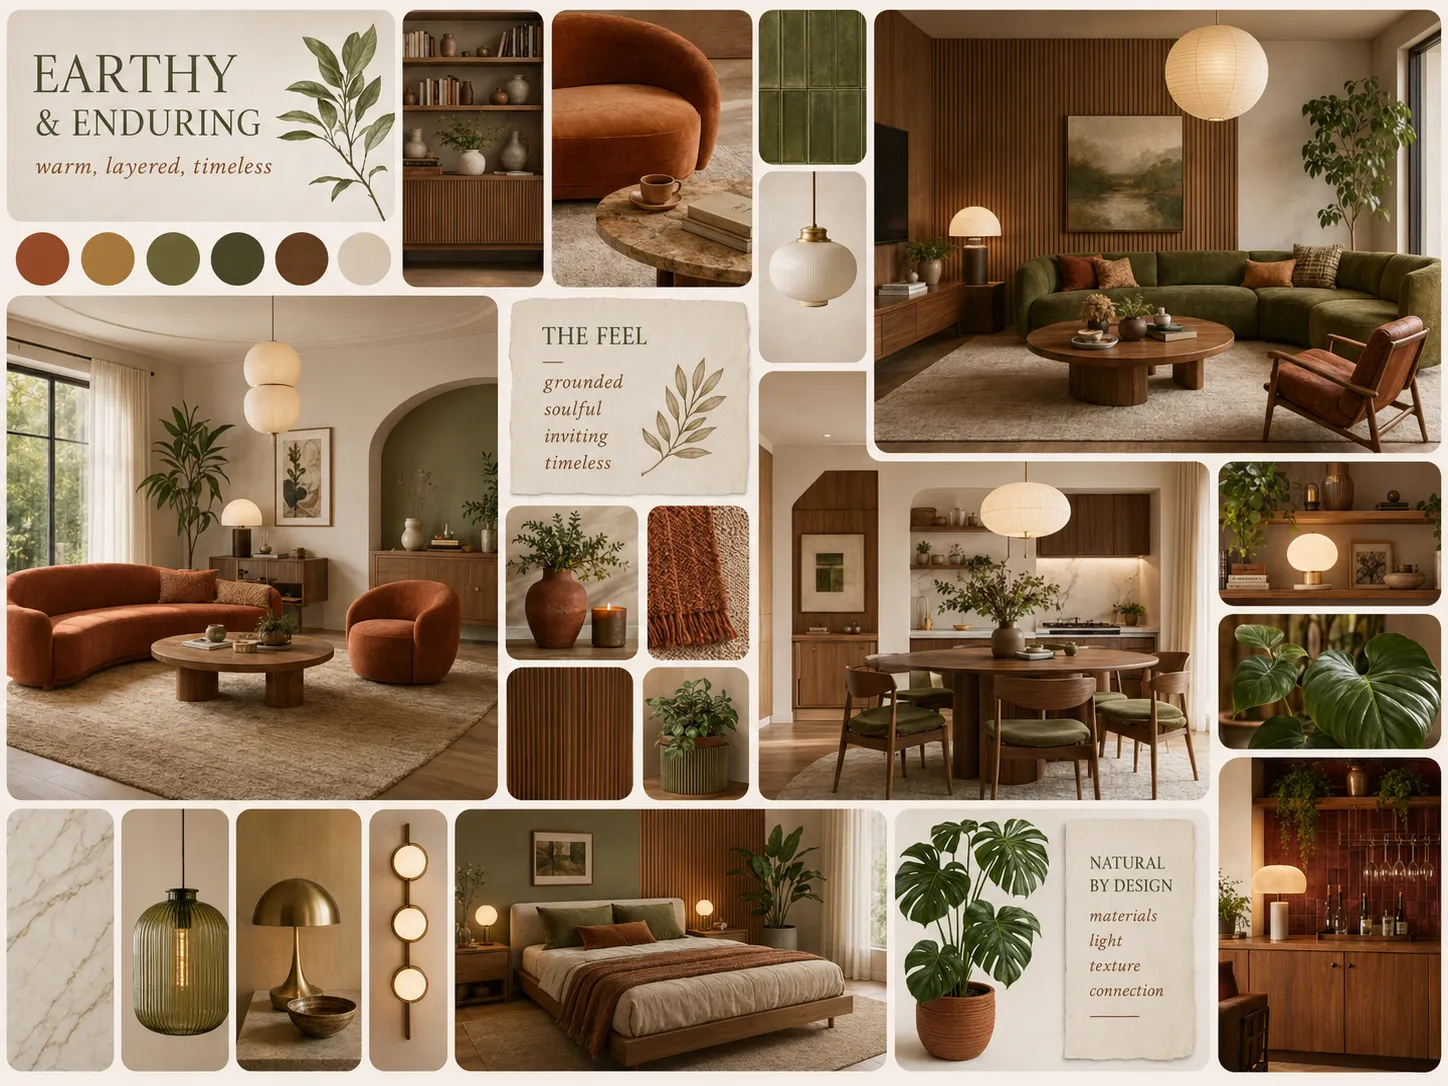
Keep it tight — three or four sentences per project is plenty. Where you can, show a little of your
process: mood boards, material palettes, sketches or renders. Process content reassures clients
that there is rigour behind the beauty and sets you apart from designers who only show end results.
To see the difference context makes, compare these two captions for the same room:
Generic: "Modern kitchen with island and pendant lighting."
Story-led: "The family wanted a kitchen that could host Sunday lunches without feeling cavernous
on a Tuesday. We anchored the room with a generous island for gathering, layered warm pendants over
cooler task lighting for flexibility, and chose tactile oak fronts to soften the scale. It now works
as both a workhorse and a stage."
The second tells the reader what problem you solved and how you think — the exact thing a prospective
client is trying to assess. You do not need many more words, just better ones: specifics over
adjectives, decisions over descriptions.
Step 3 — Structure and order your work
Now arrange everything so it reads effortlessly. Strong structure does a lot of quiet persuasion:
- Order with intent. Open with your best project and close with another strong one — people
remember first and last impressions most.
- Group logically. By room type (kitchens, living rooms, bathrooms), by style, or by sector
(residential, commercial, hospitality). Pick whichever grouping matches how your ideal client
thinks.
- Add the supporting pages. A cover/landing section that makes a confident first impression, an
About page that introduces you and your philosophy, and a clear Services overview.
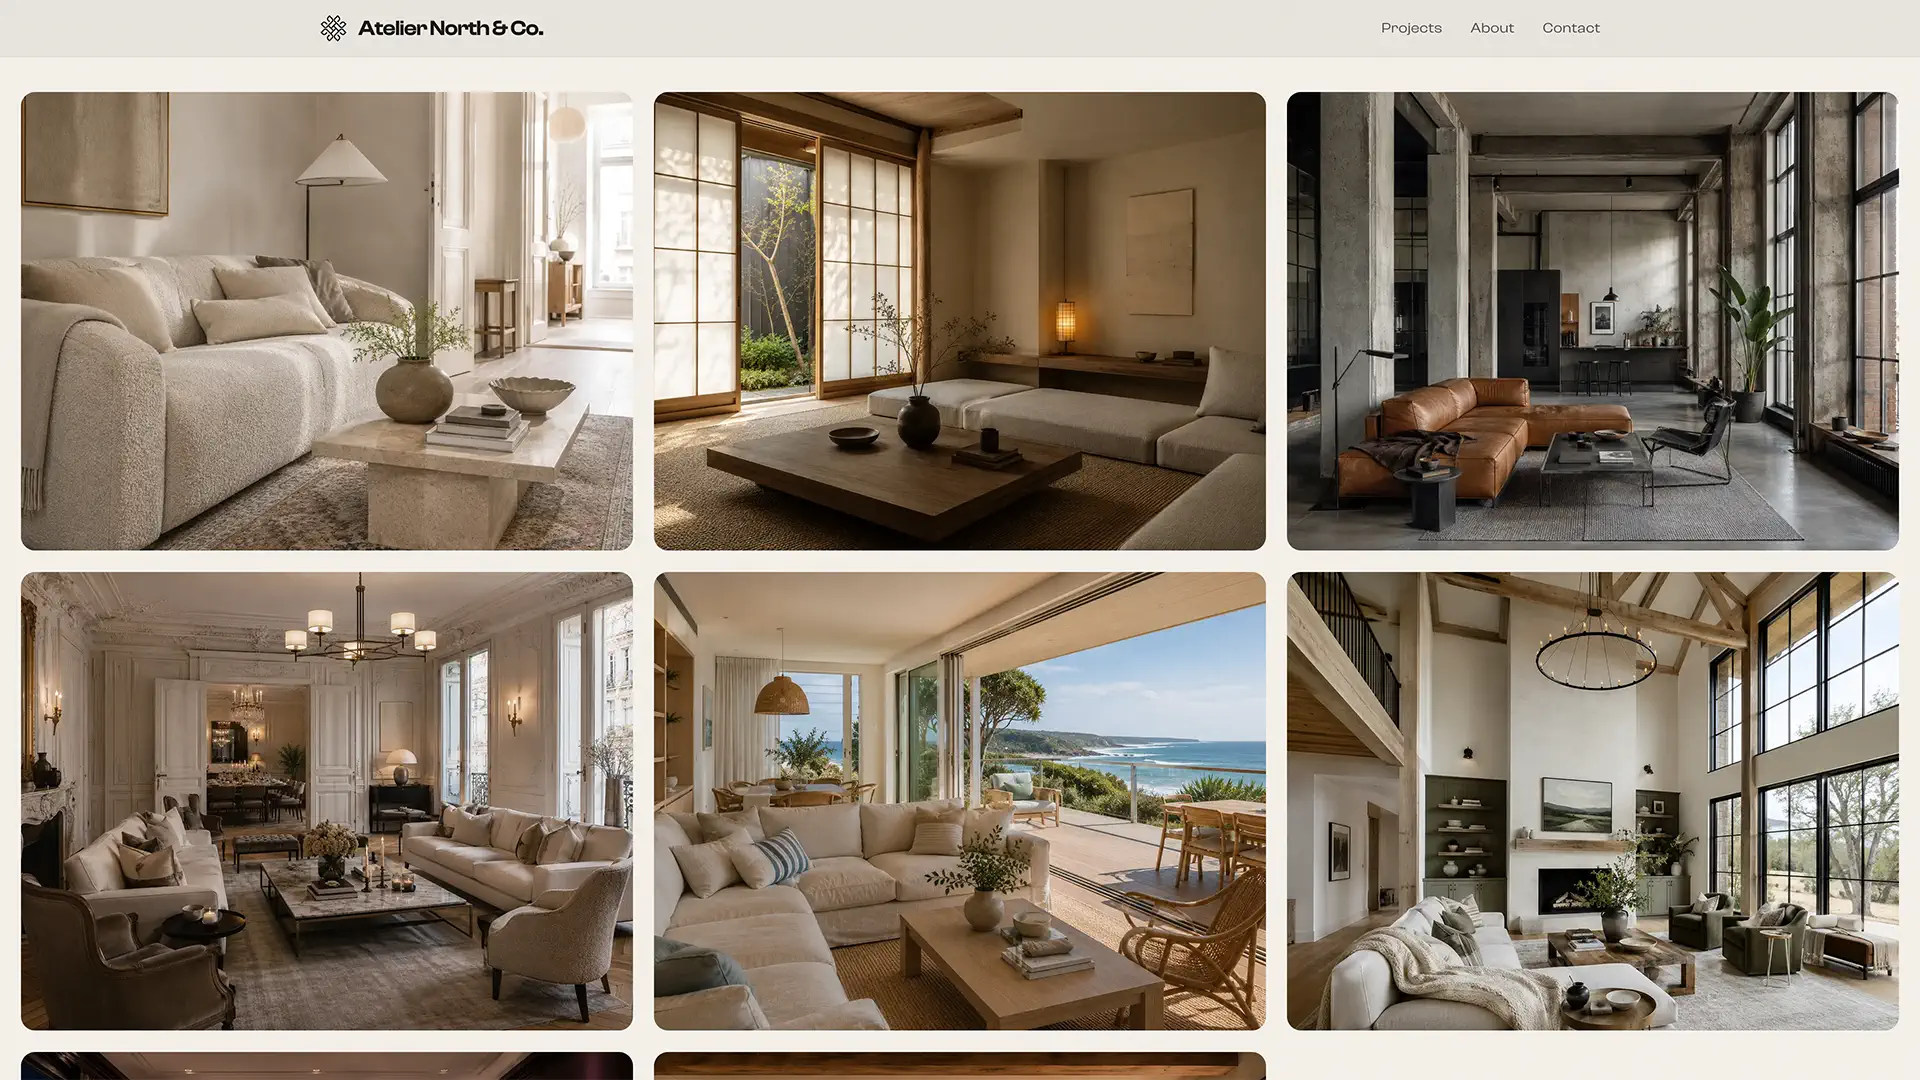
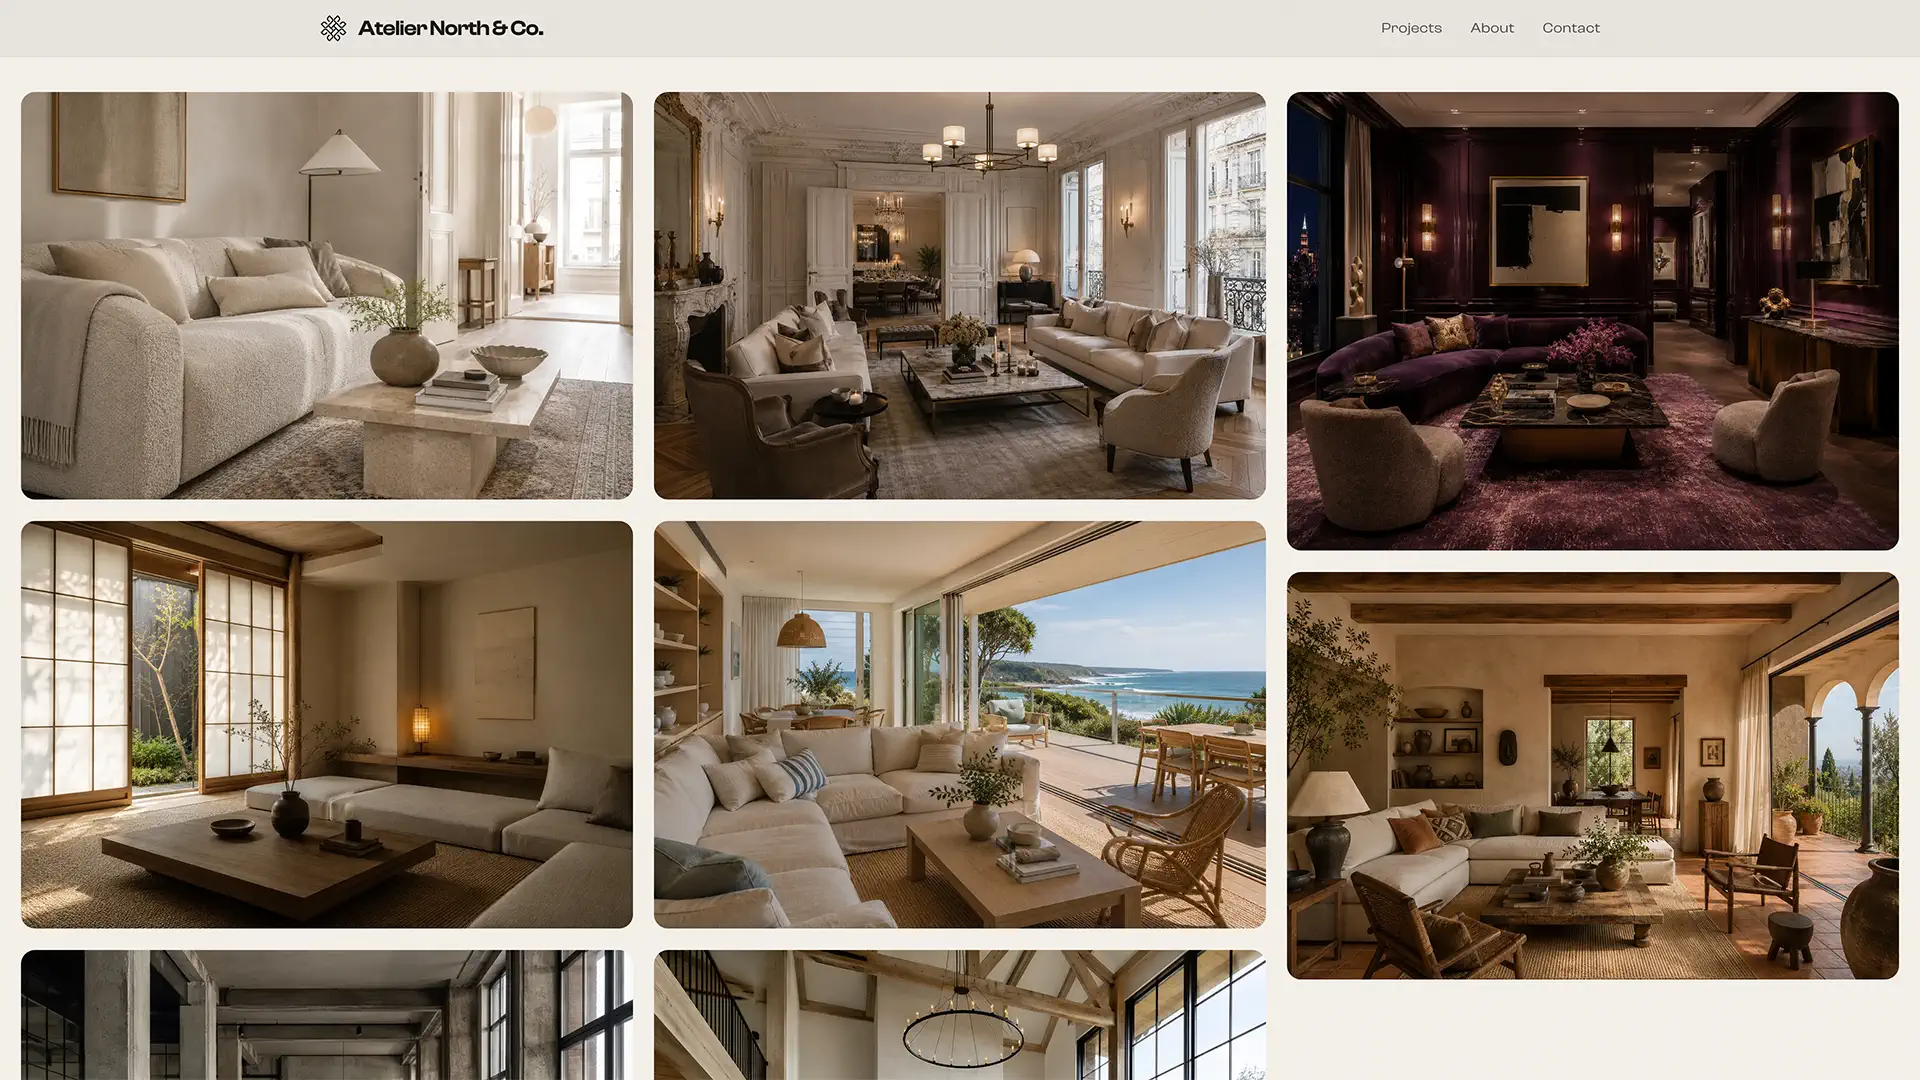
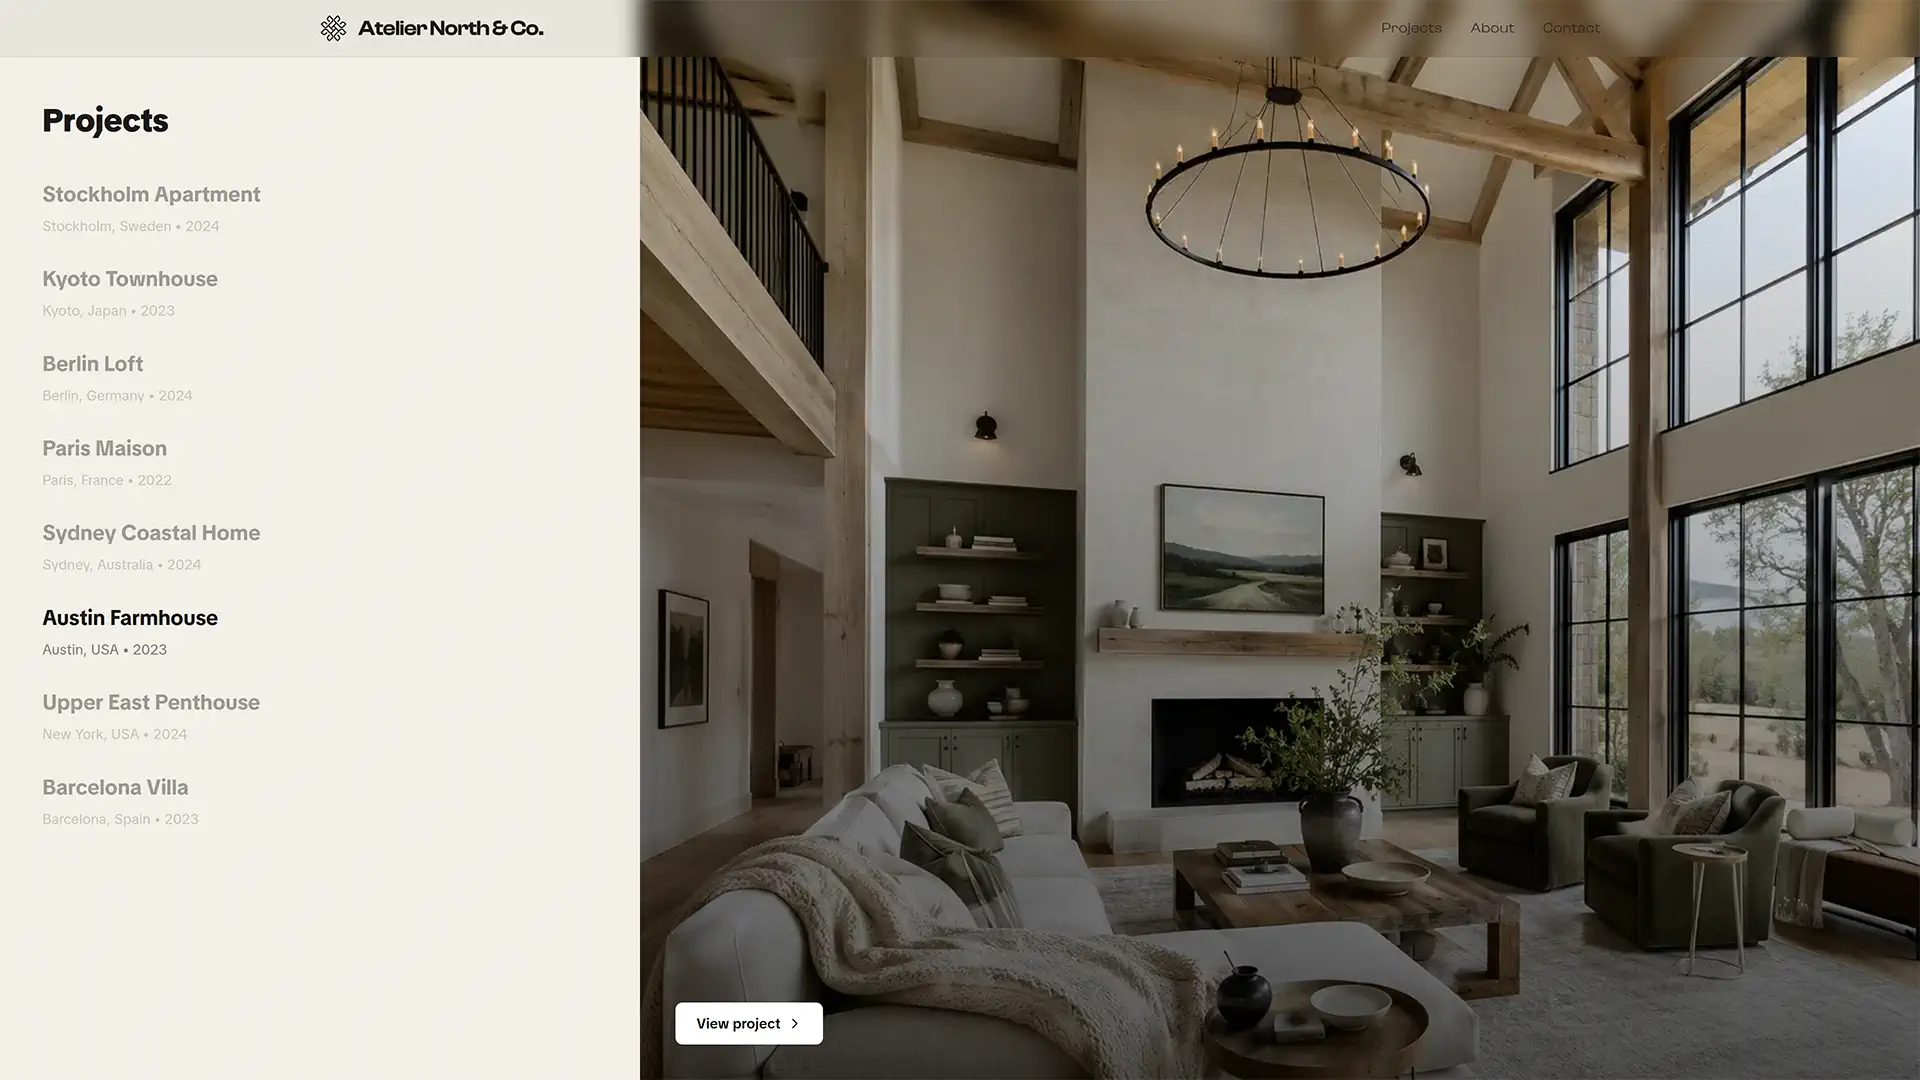
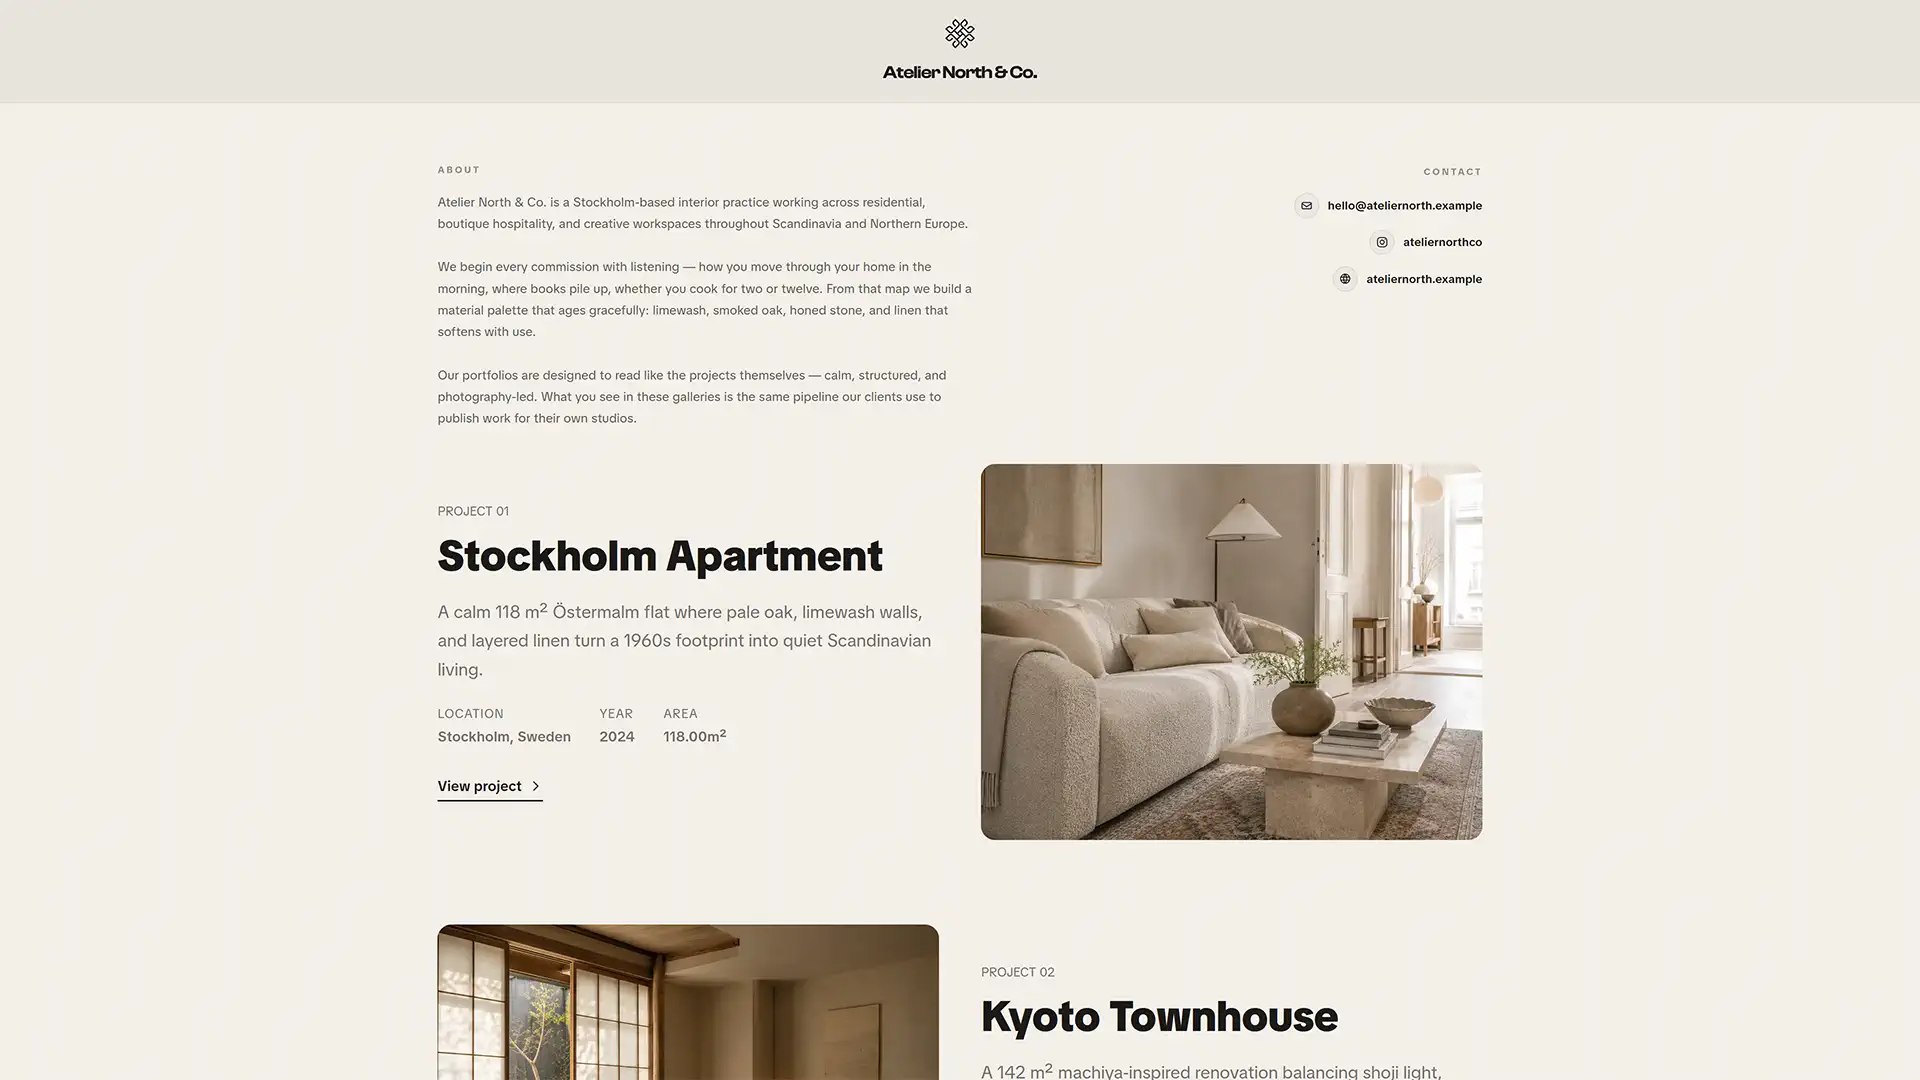
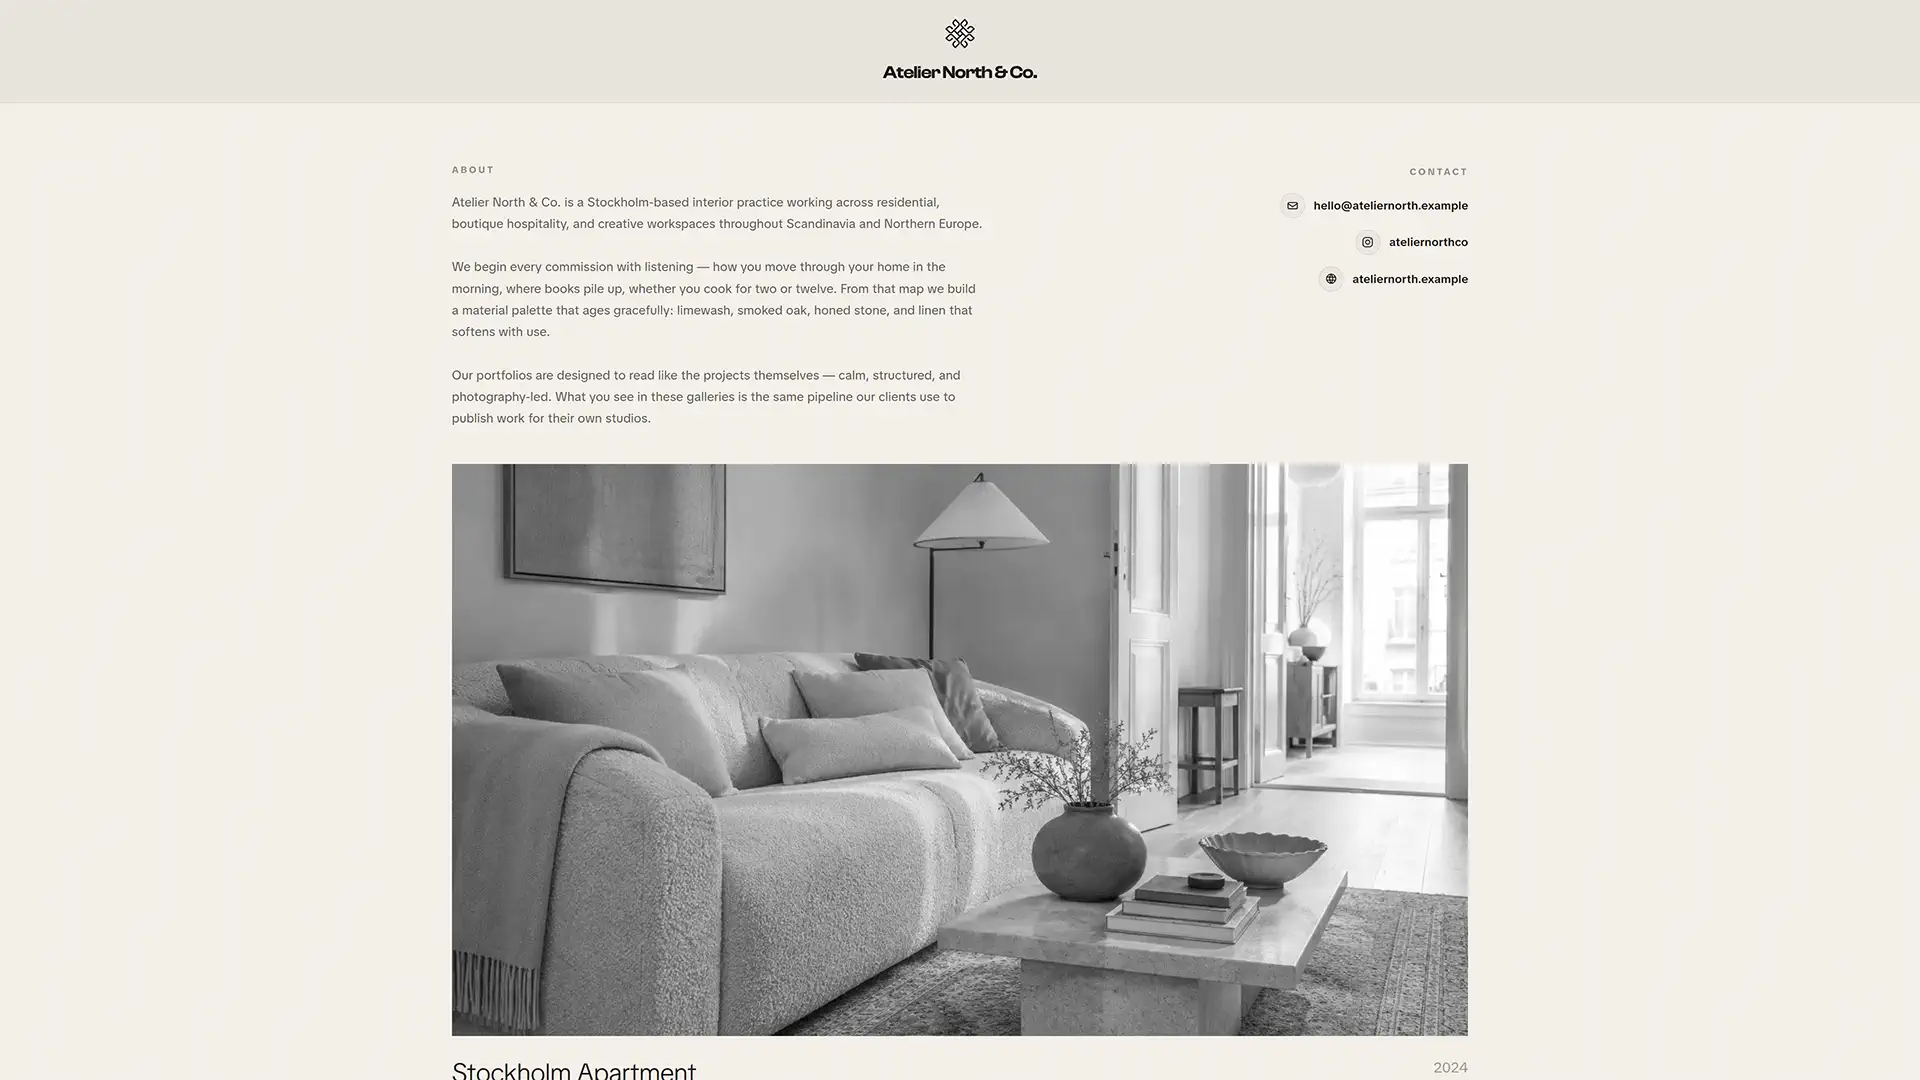
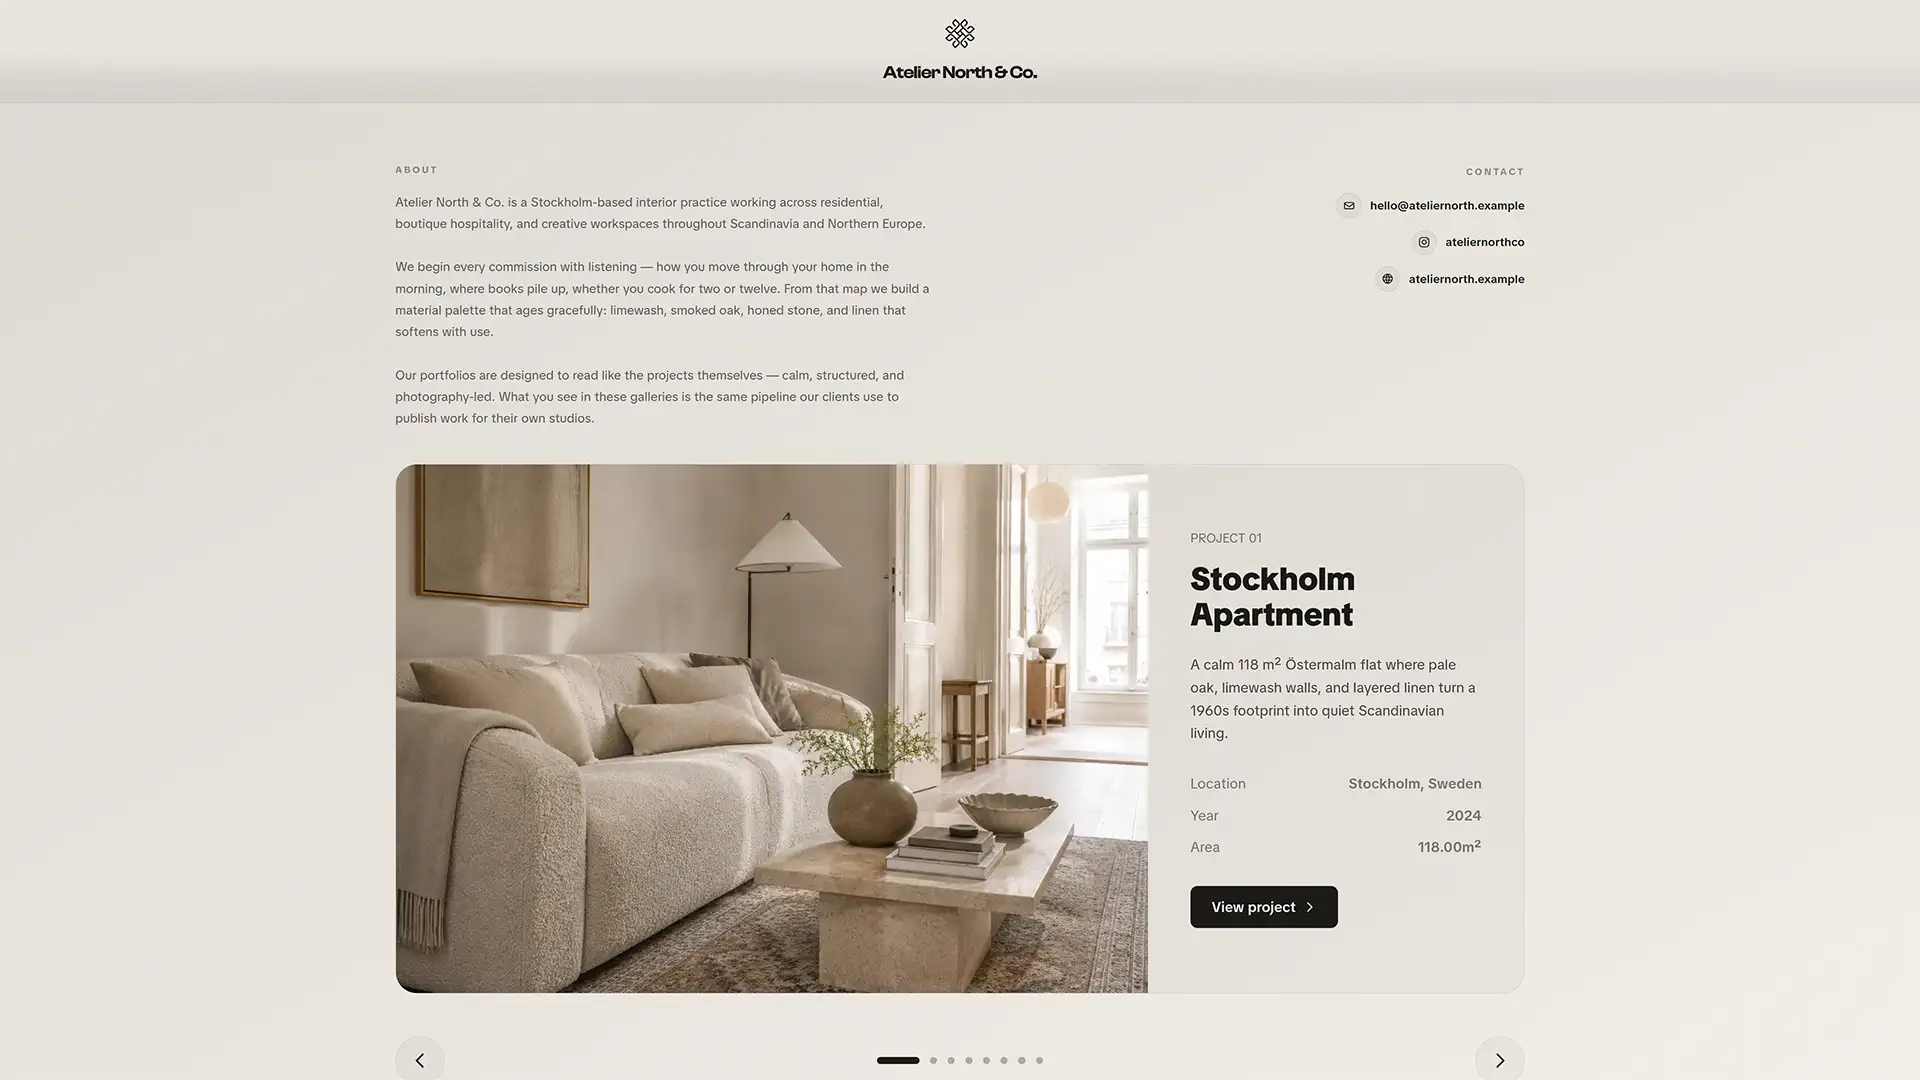
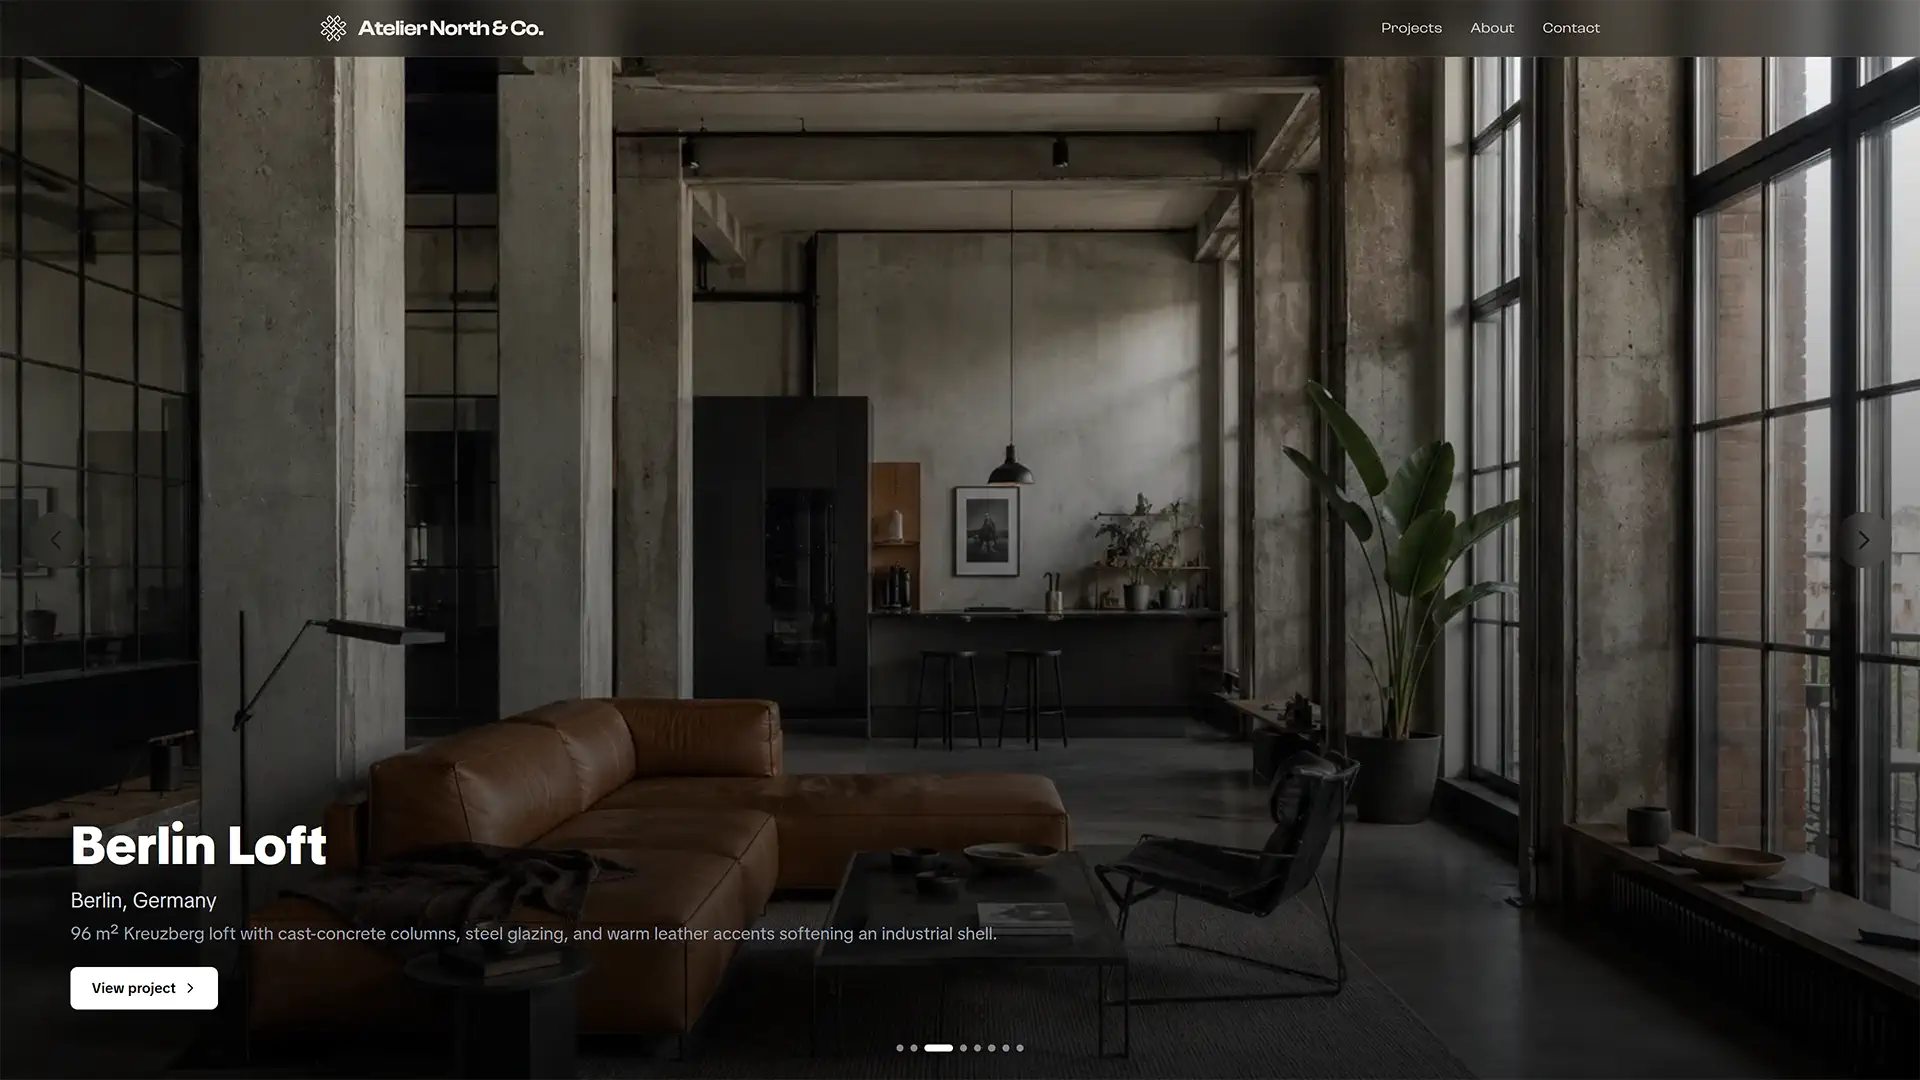
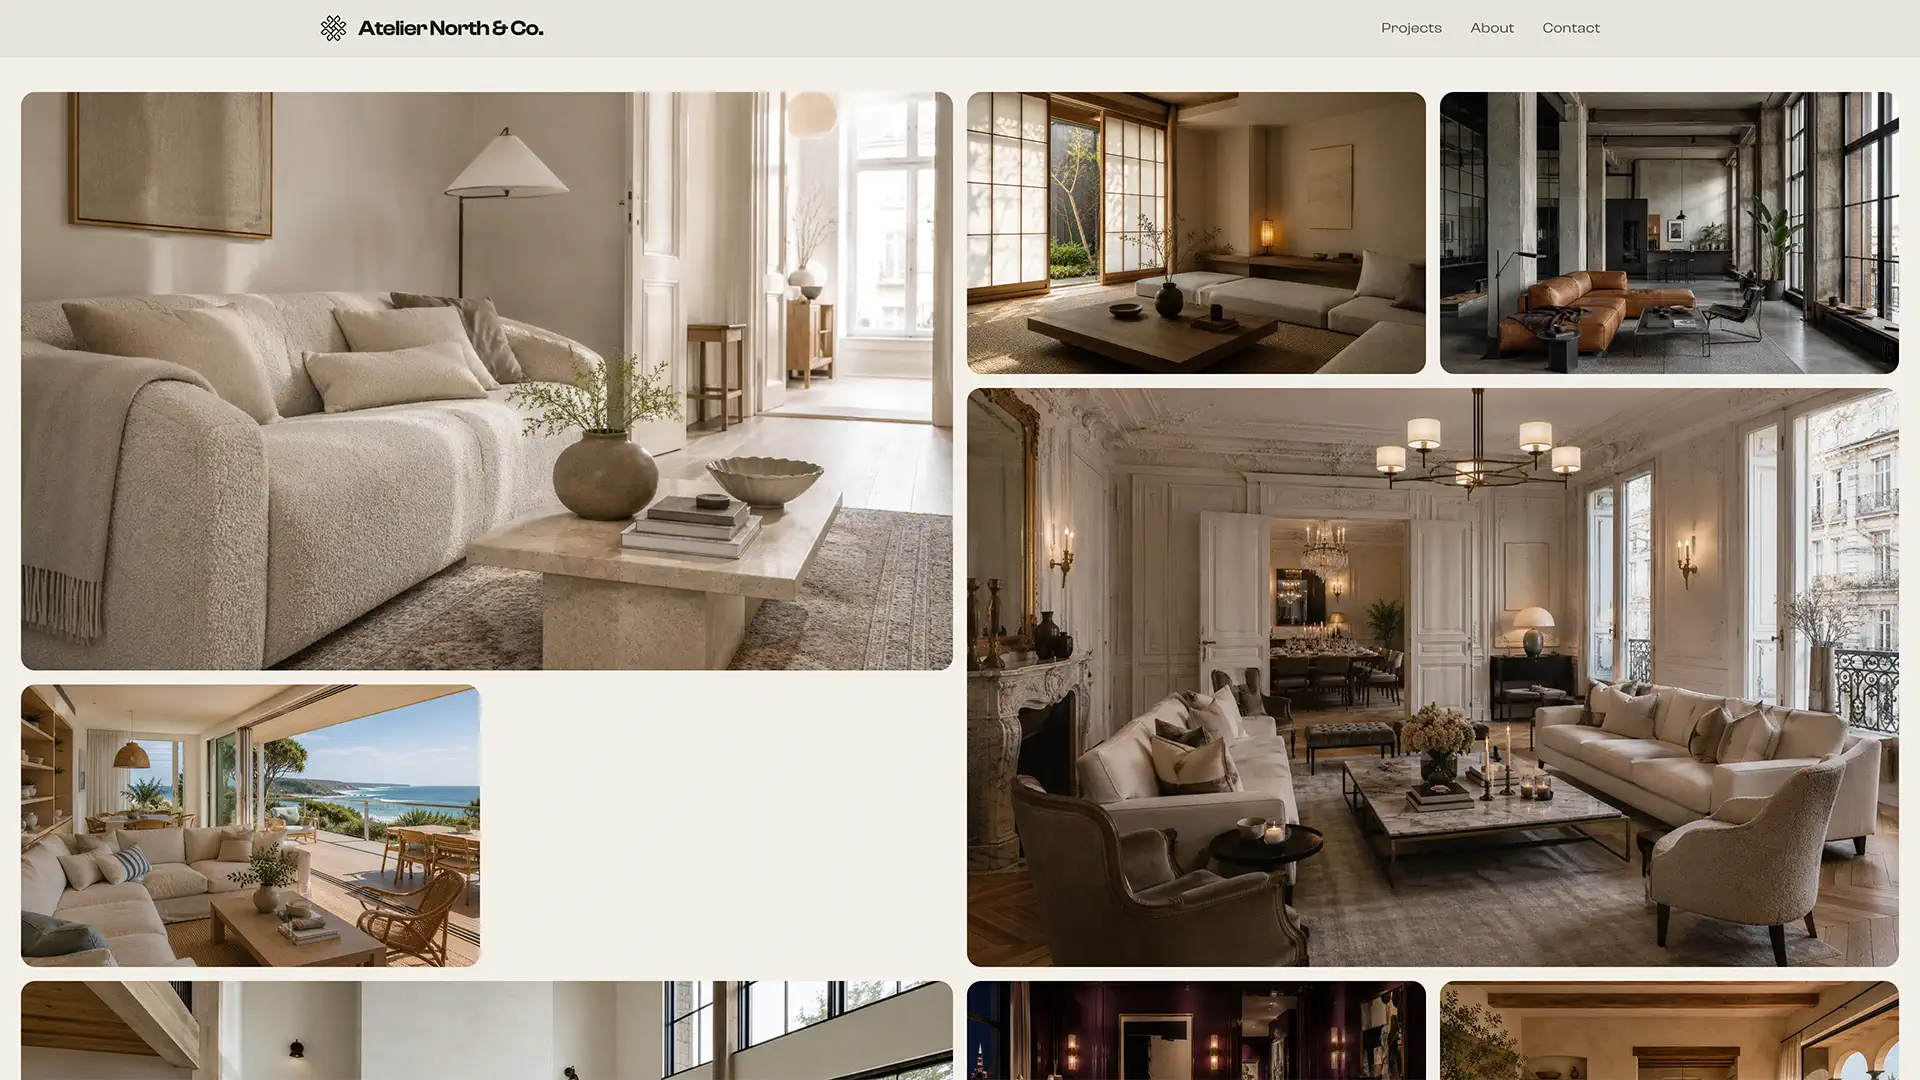
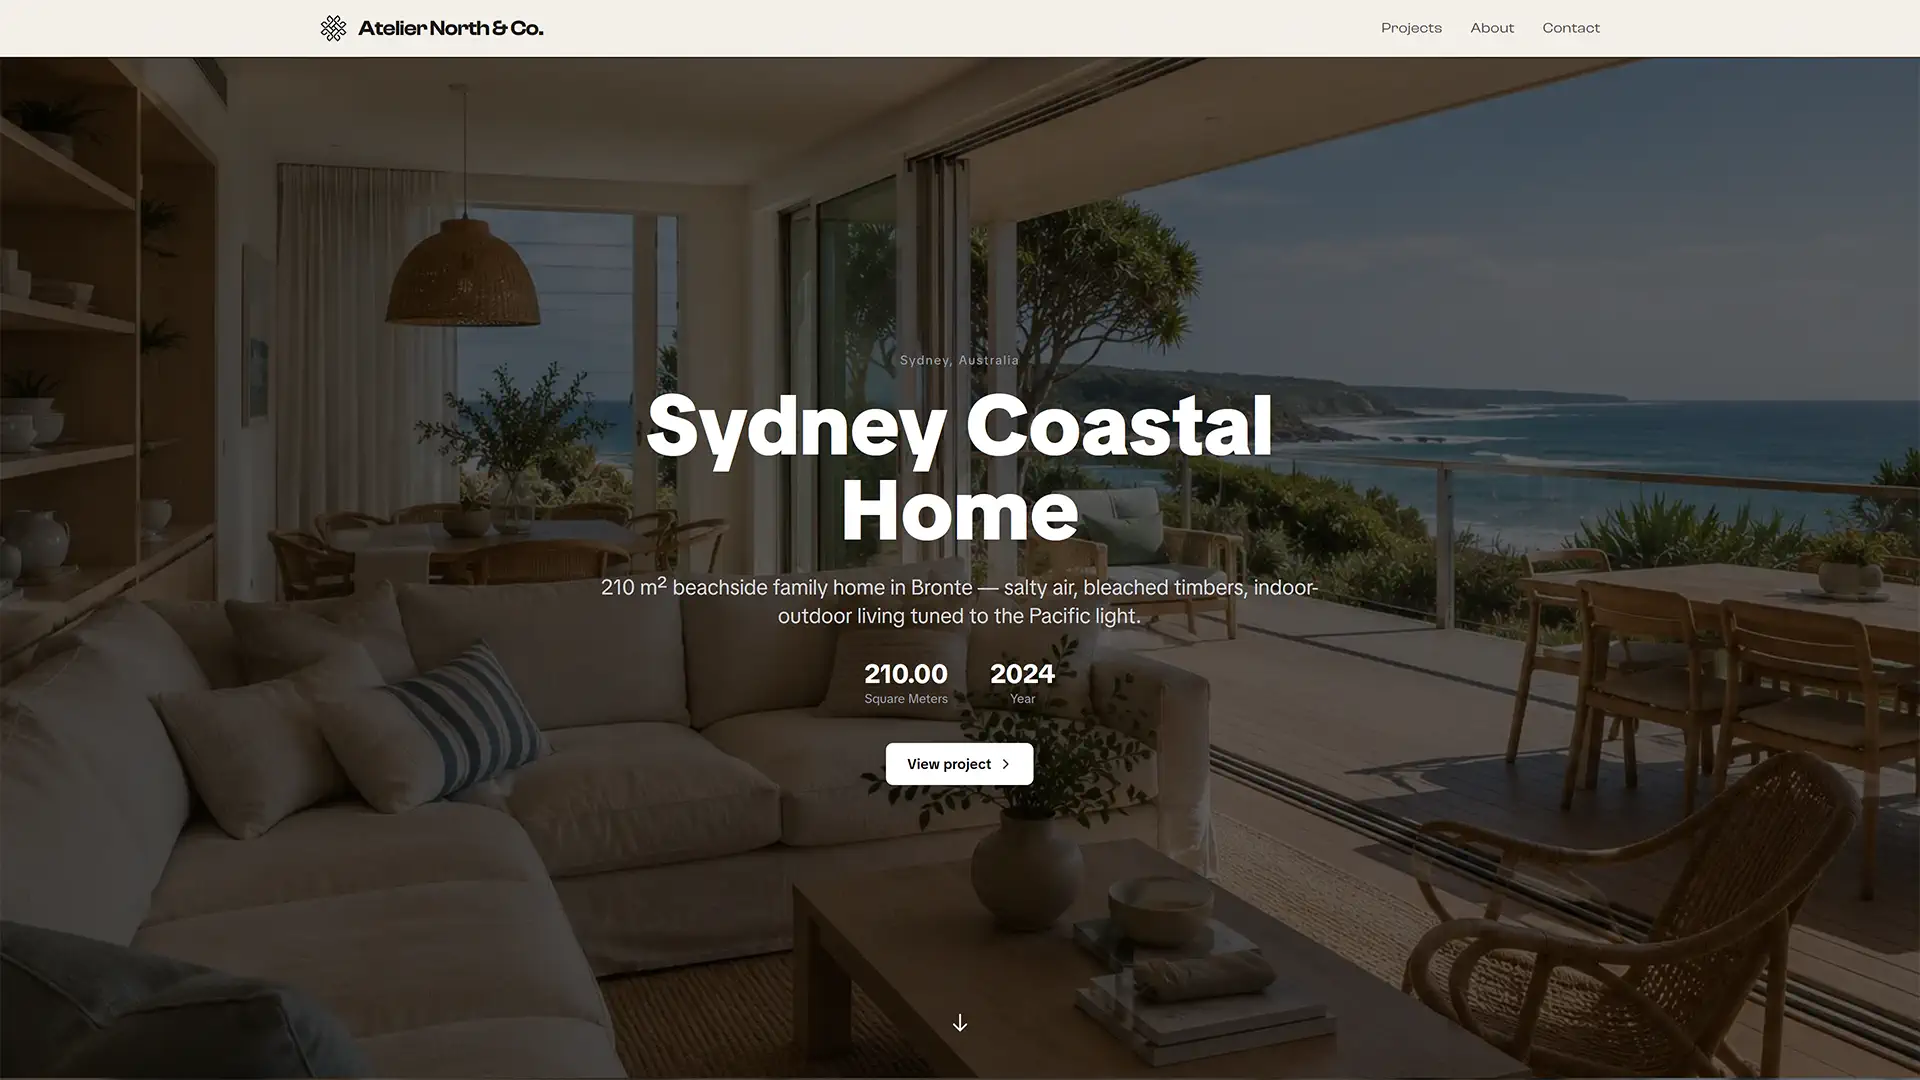
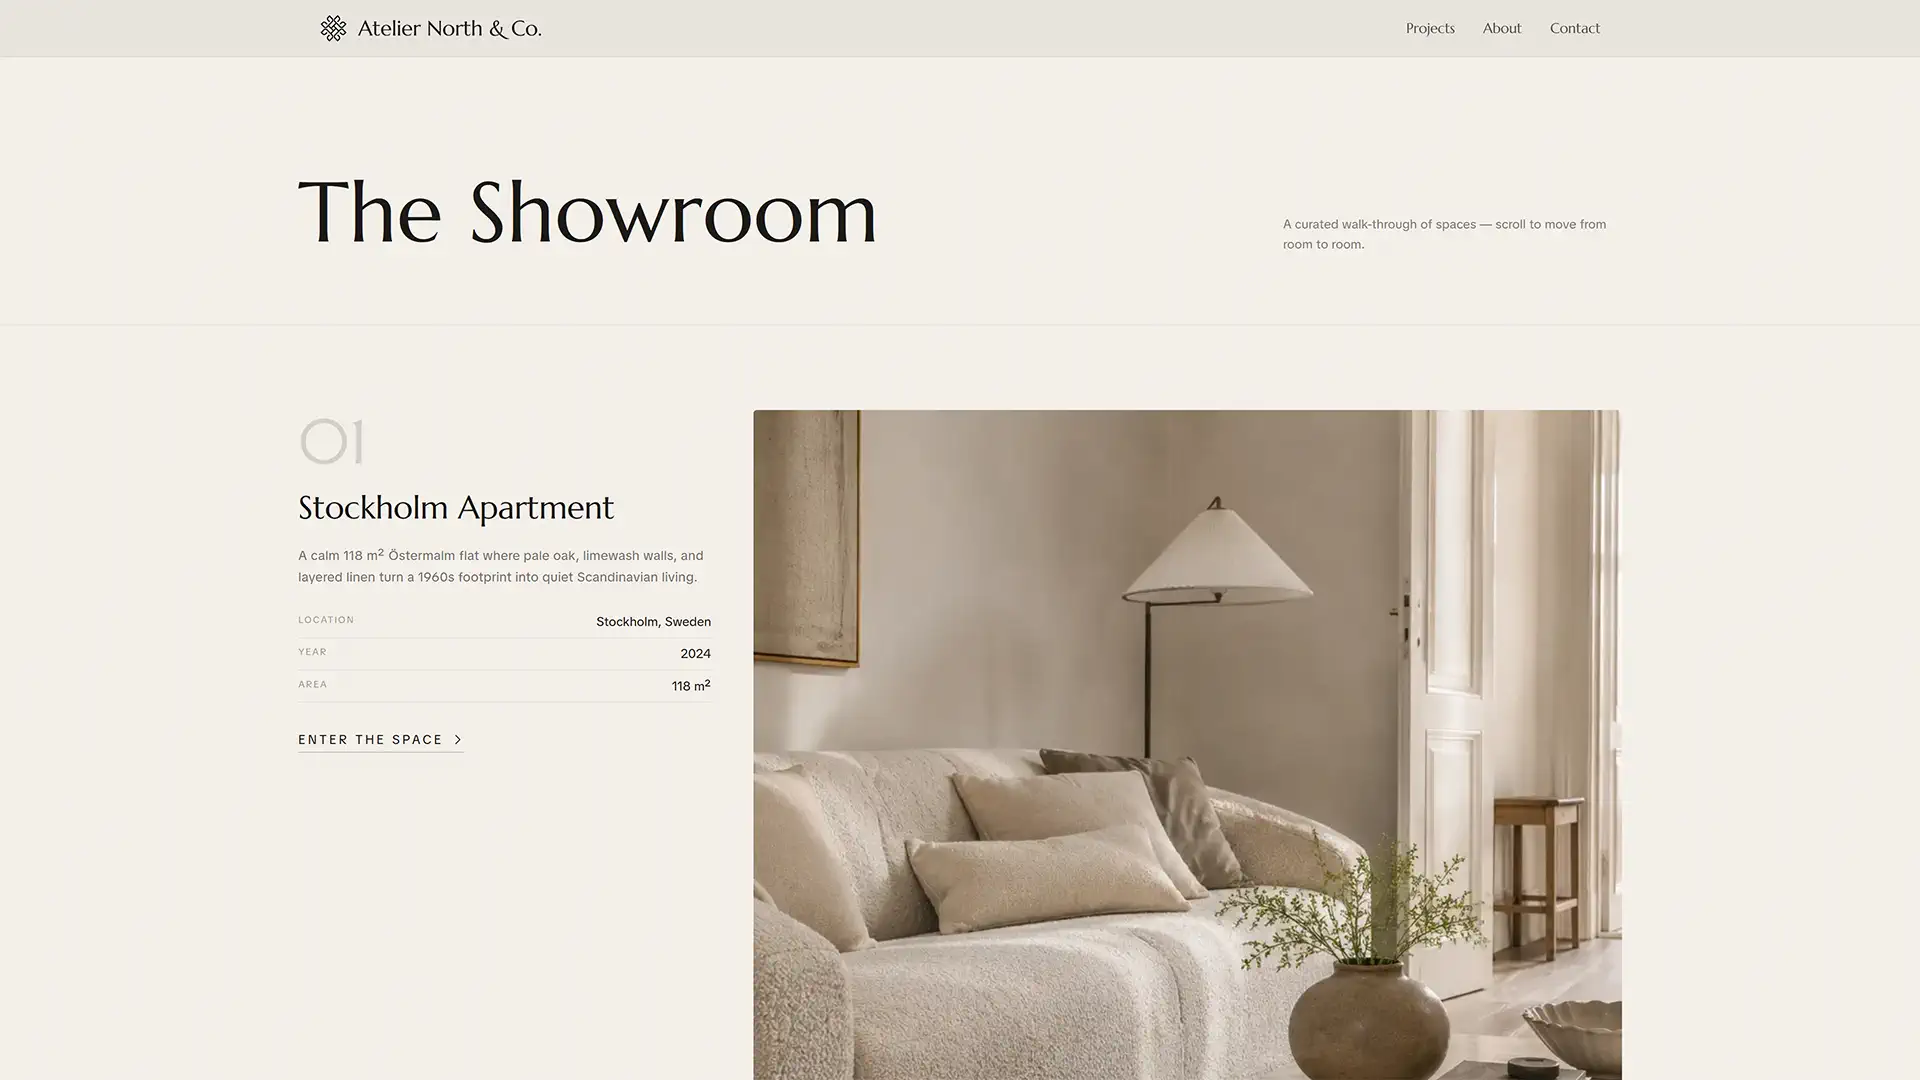
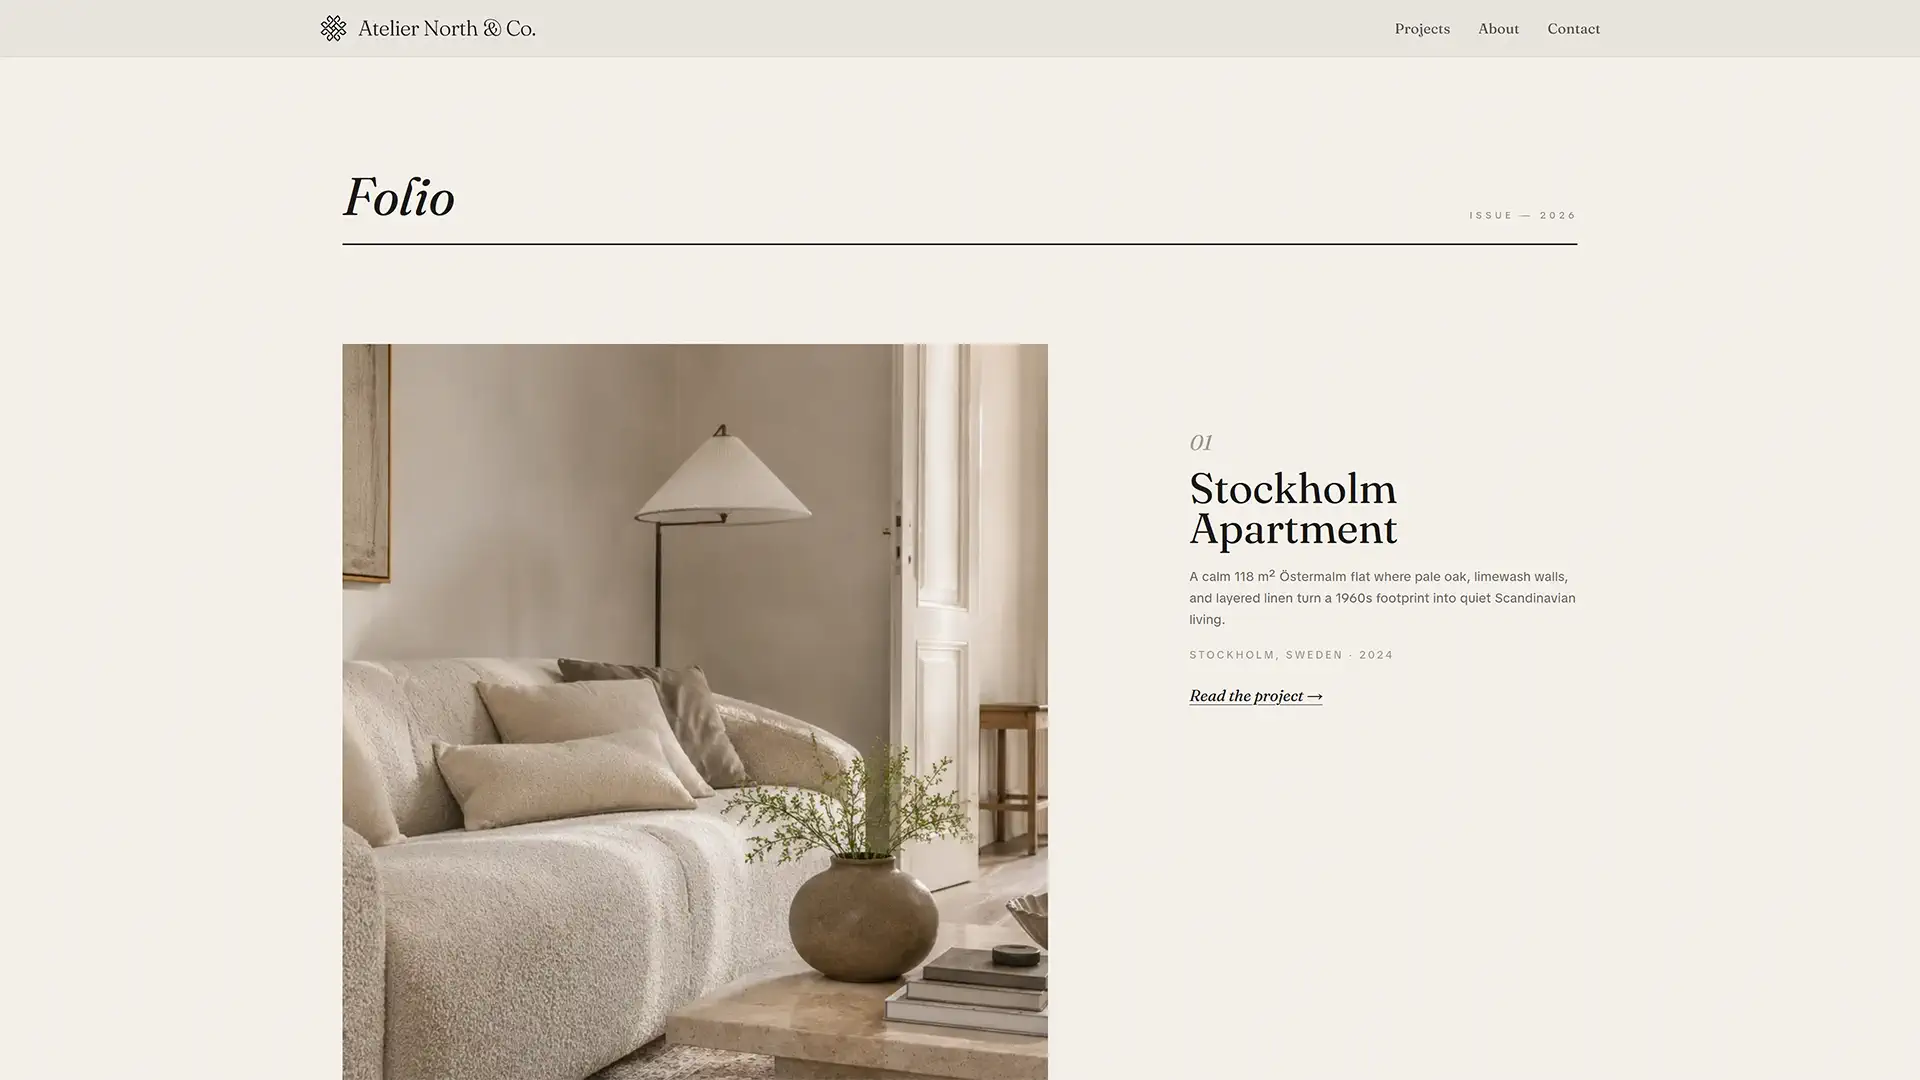
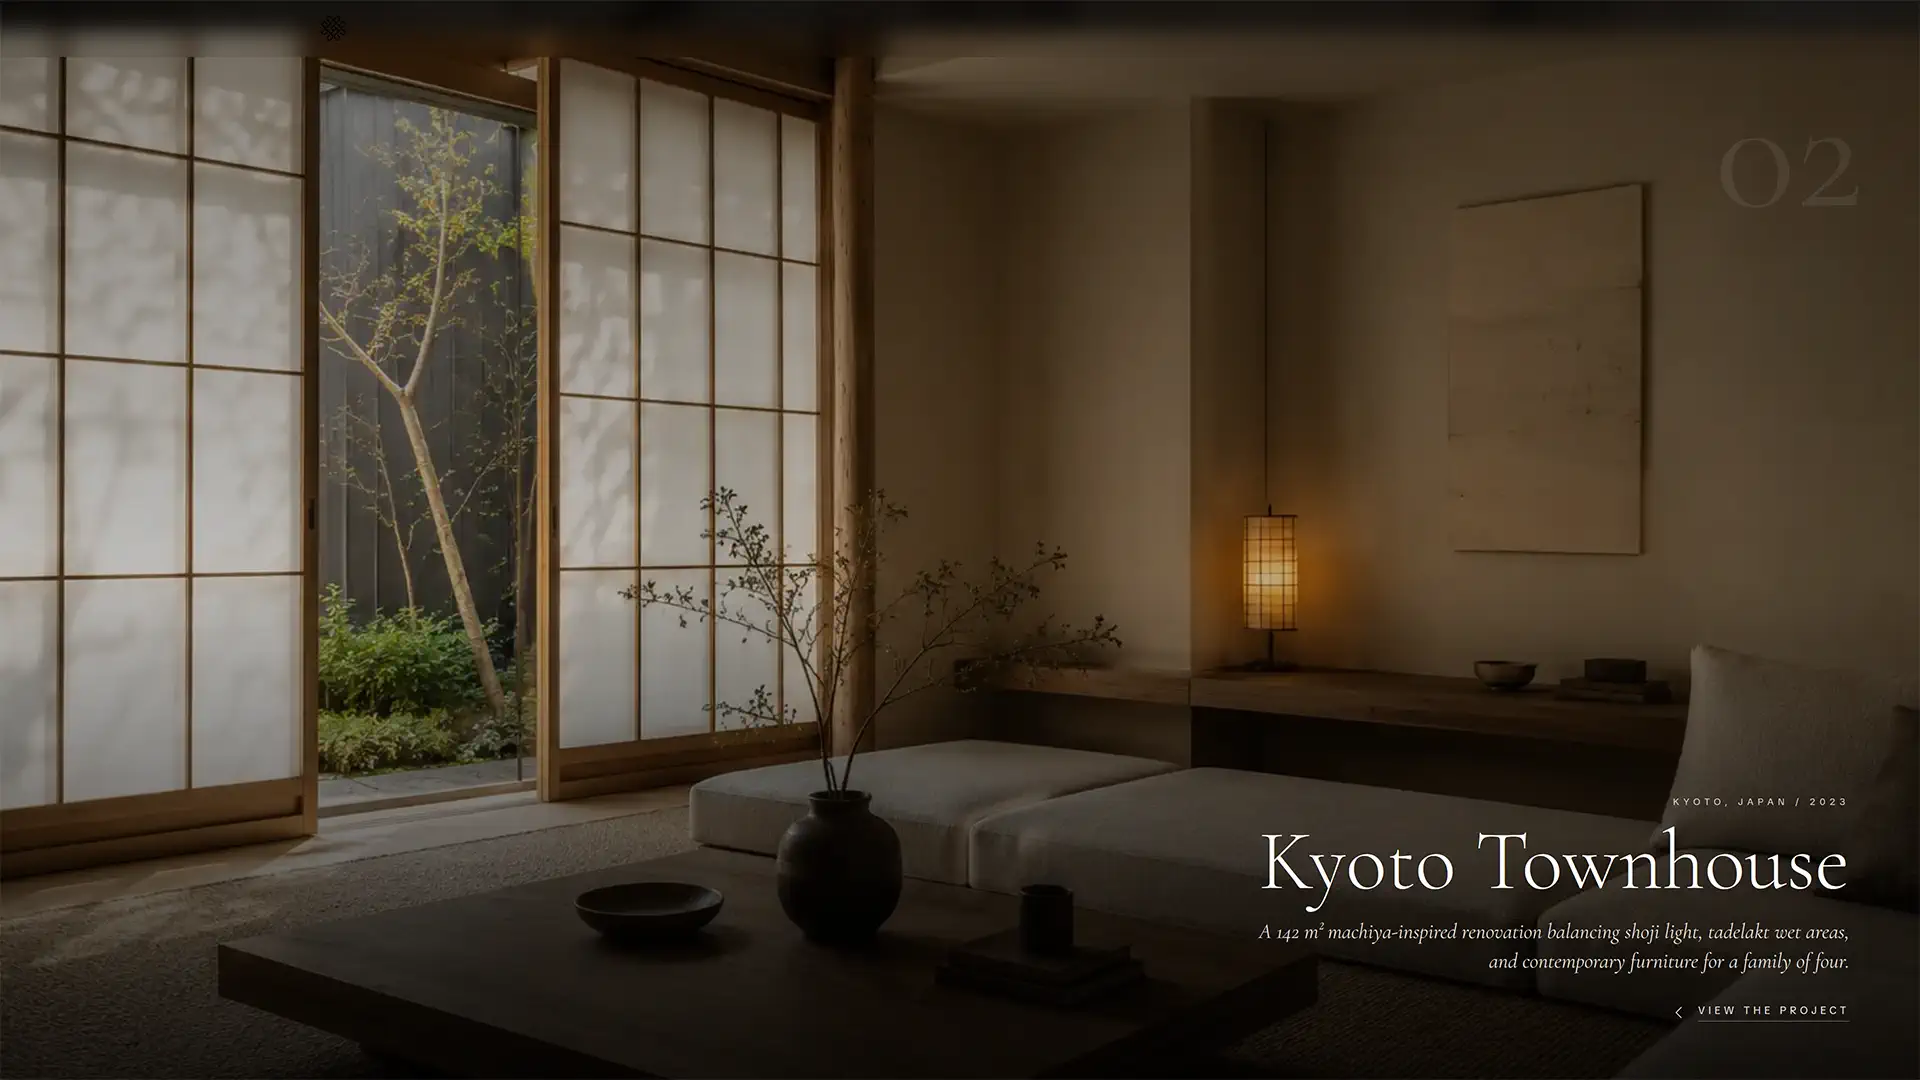
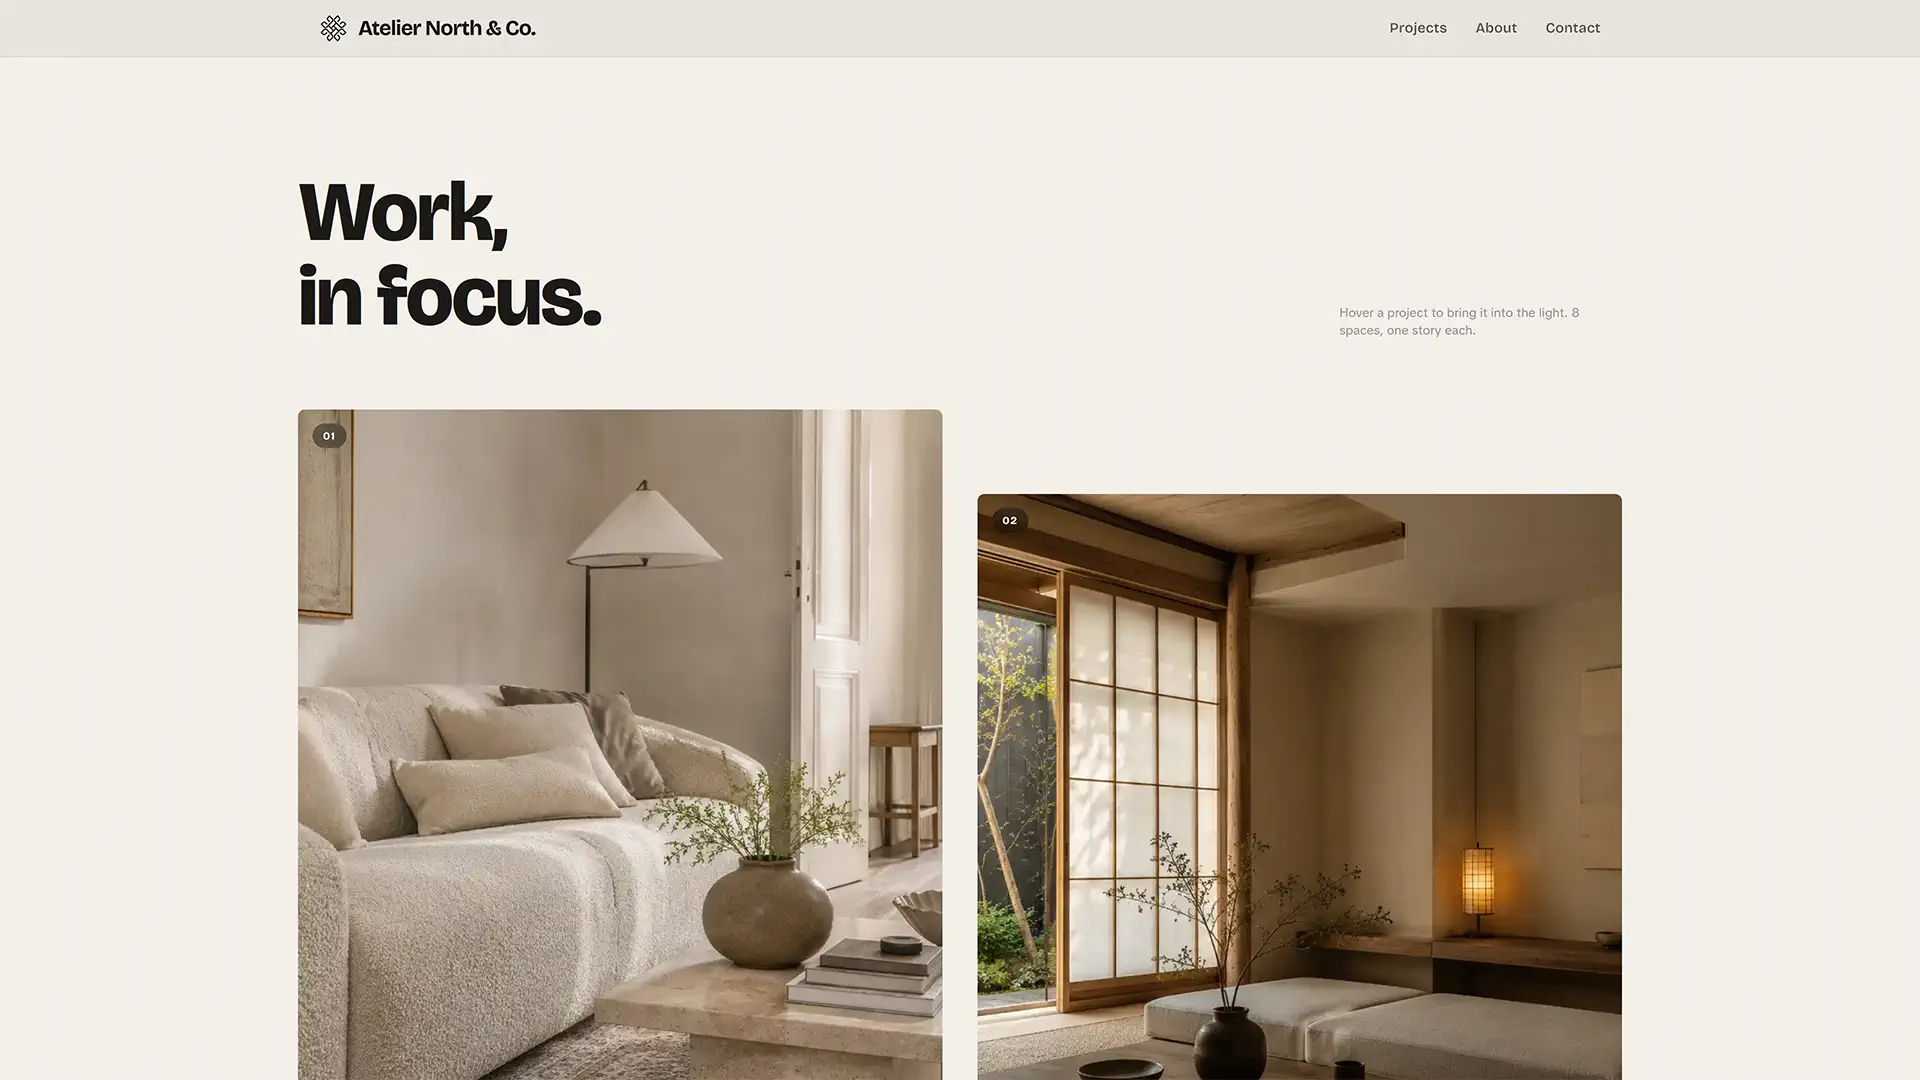
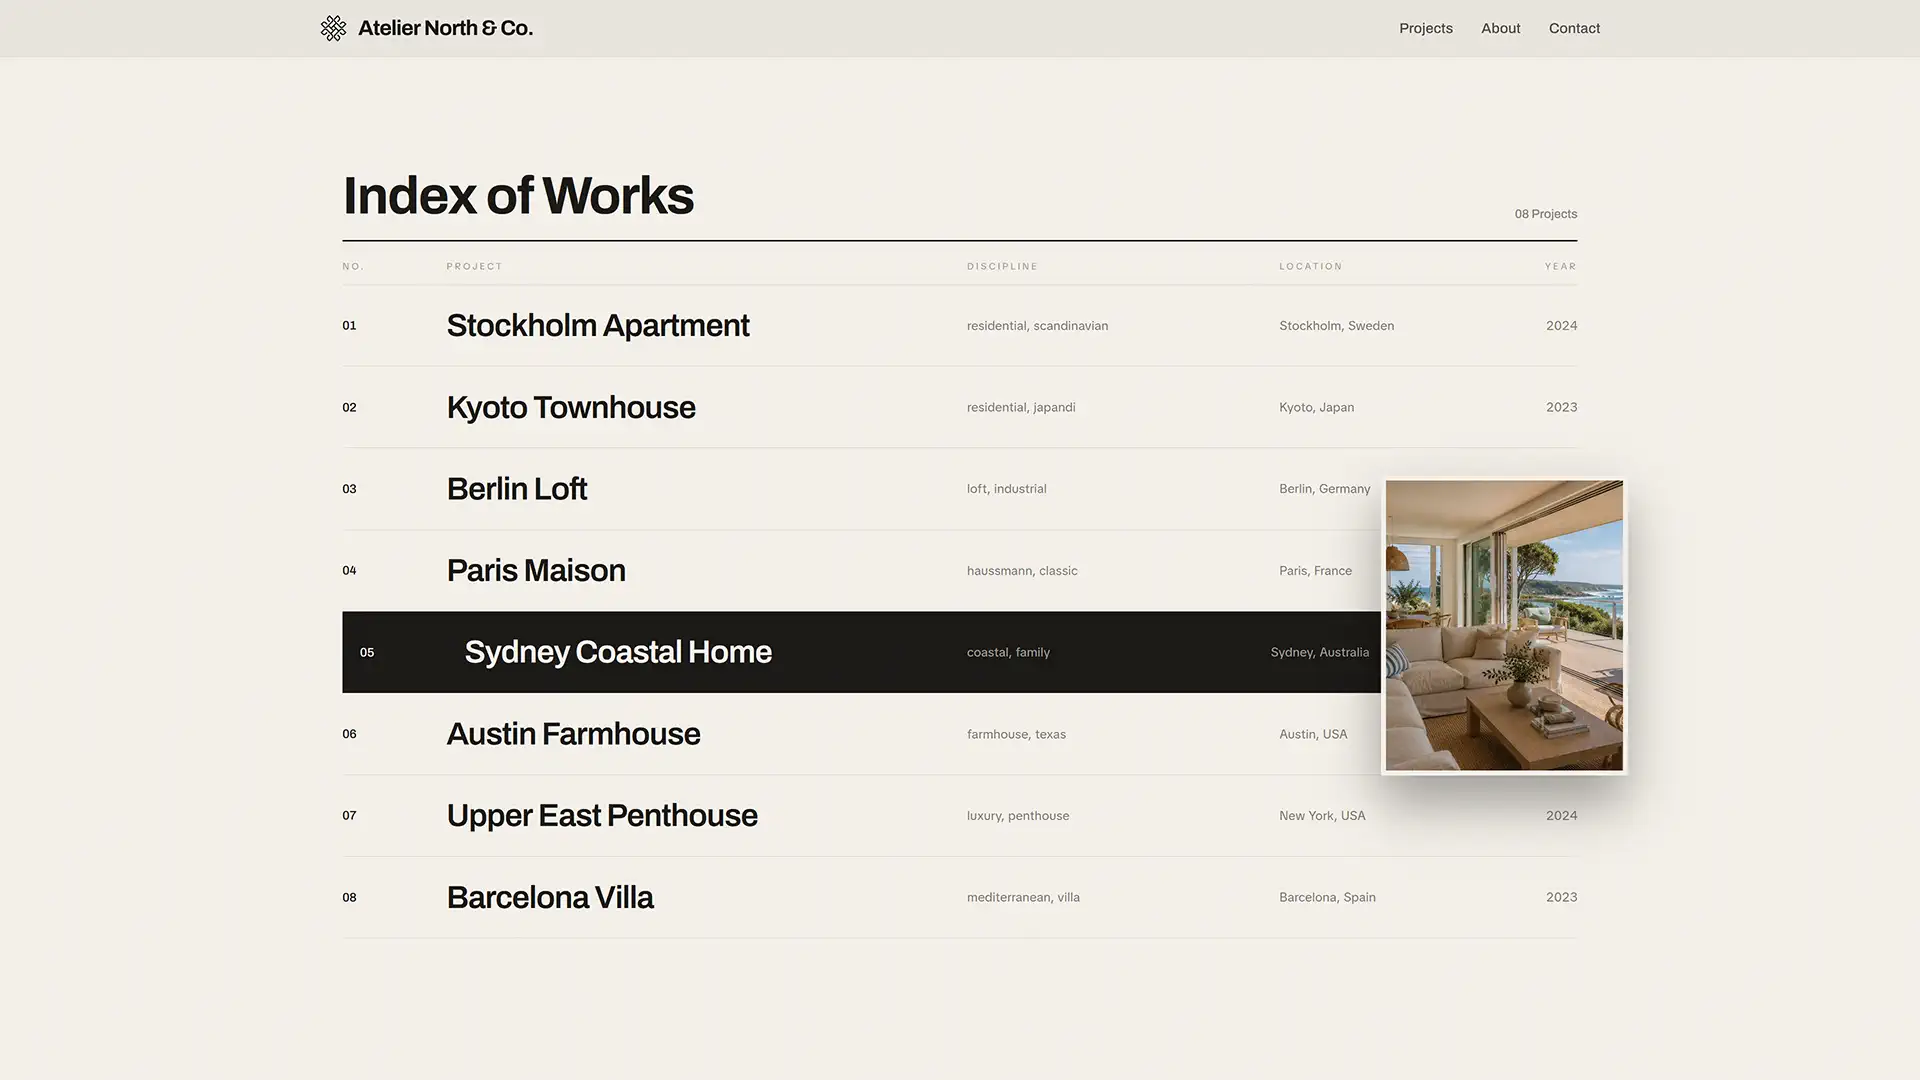
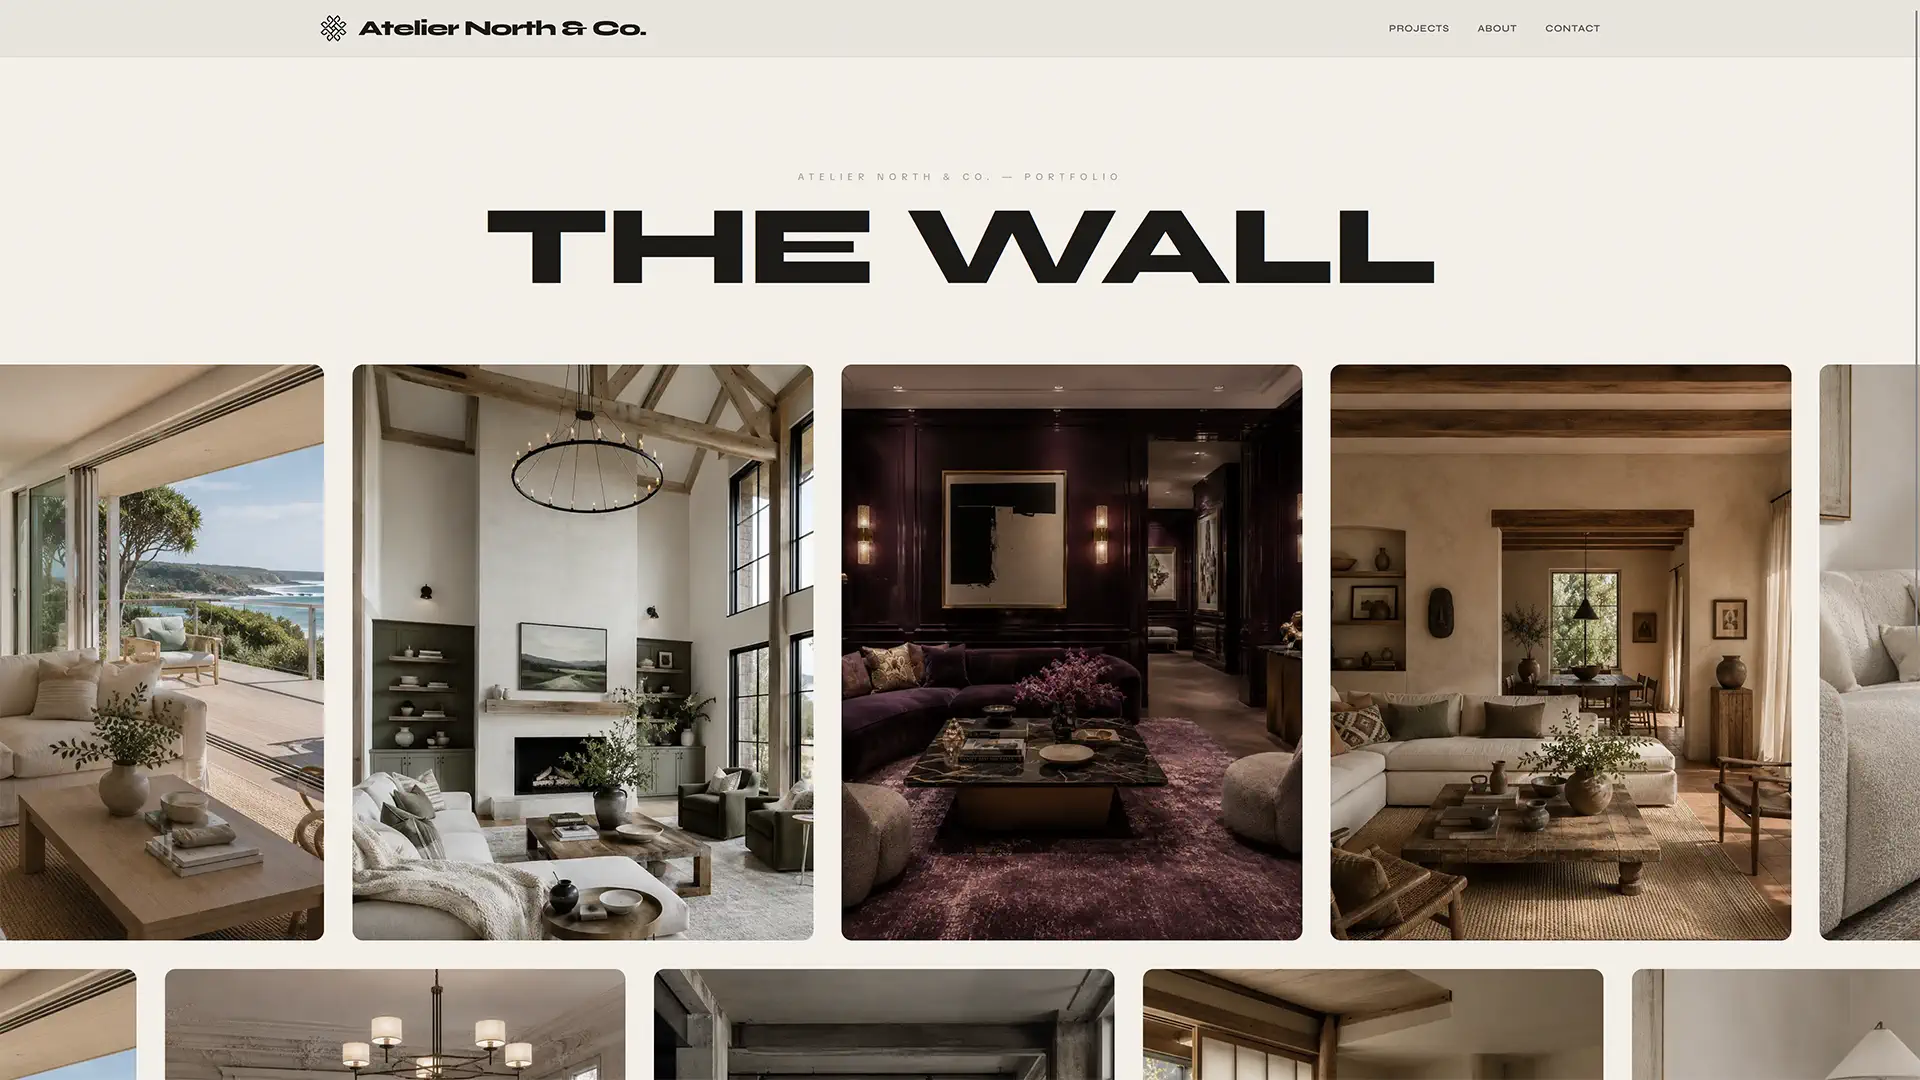
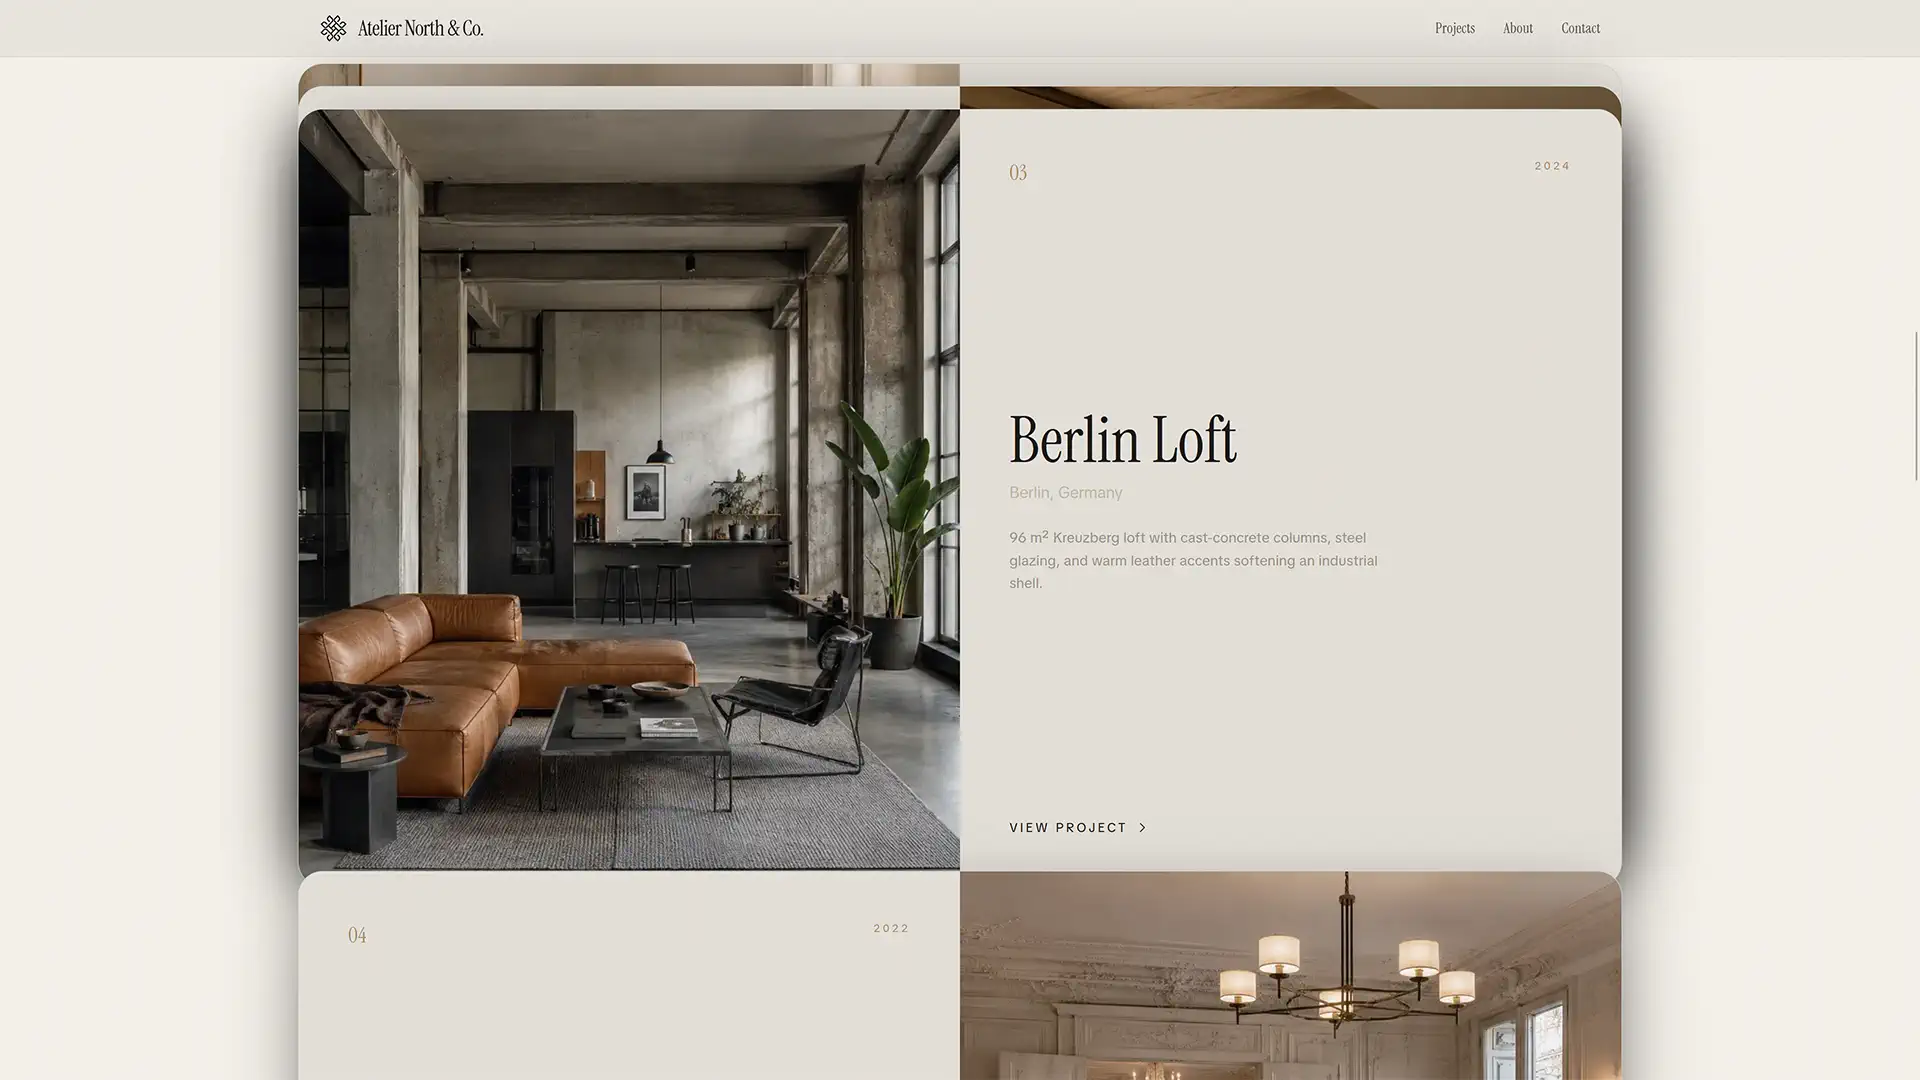
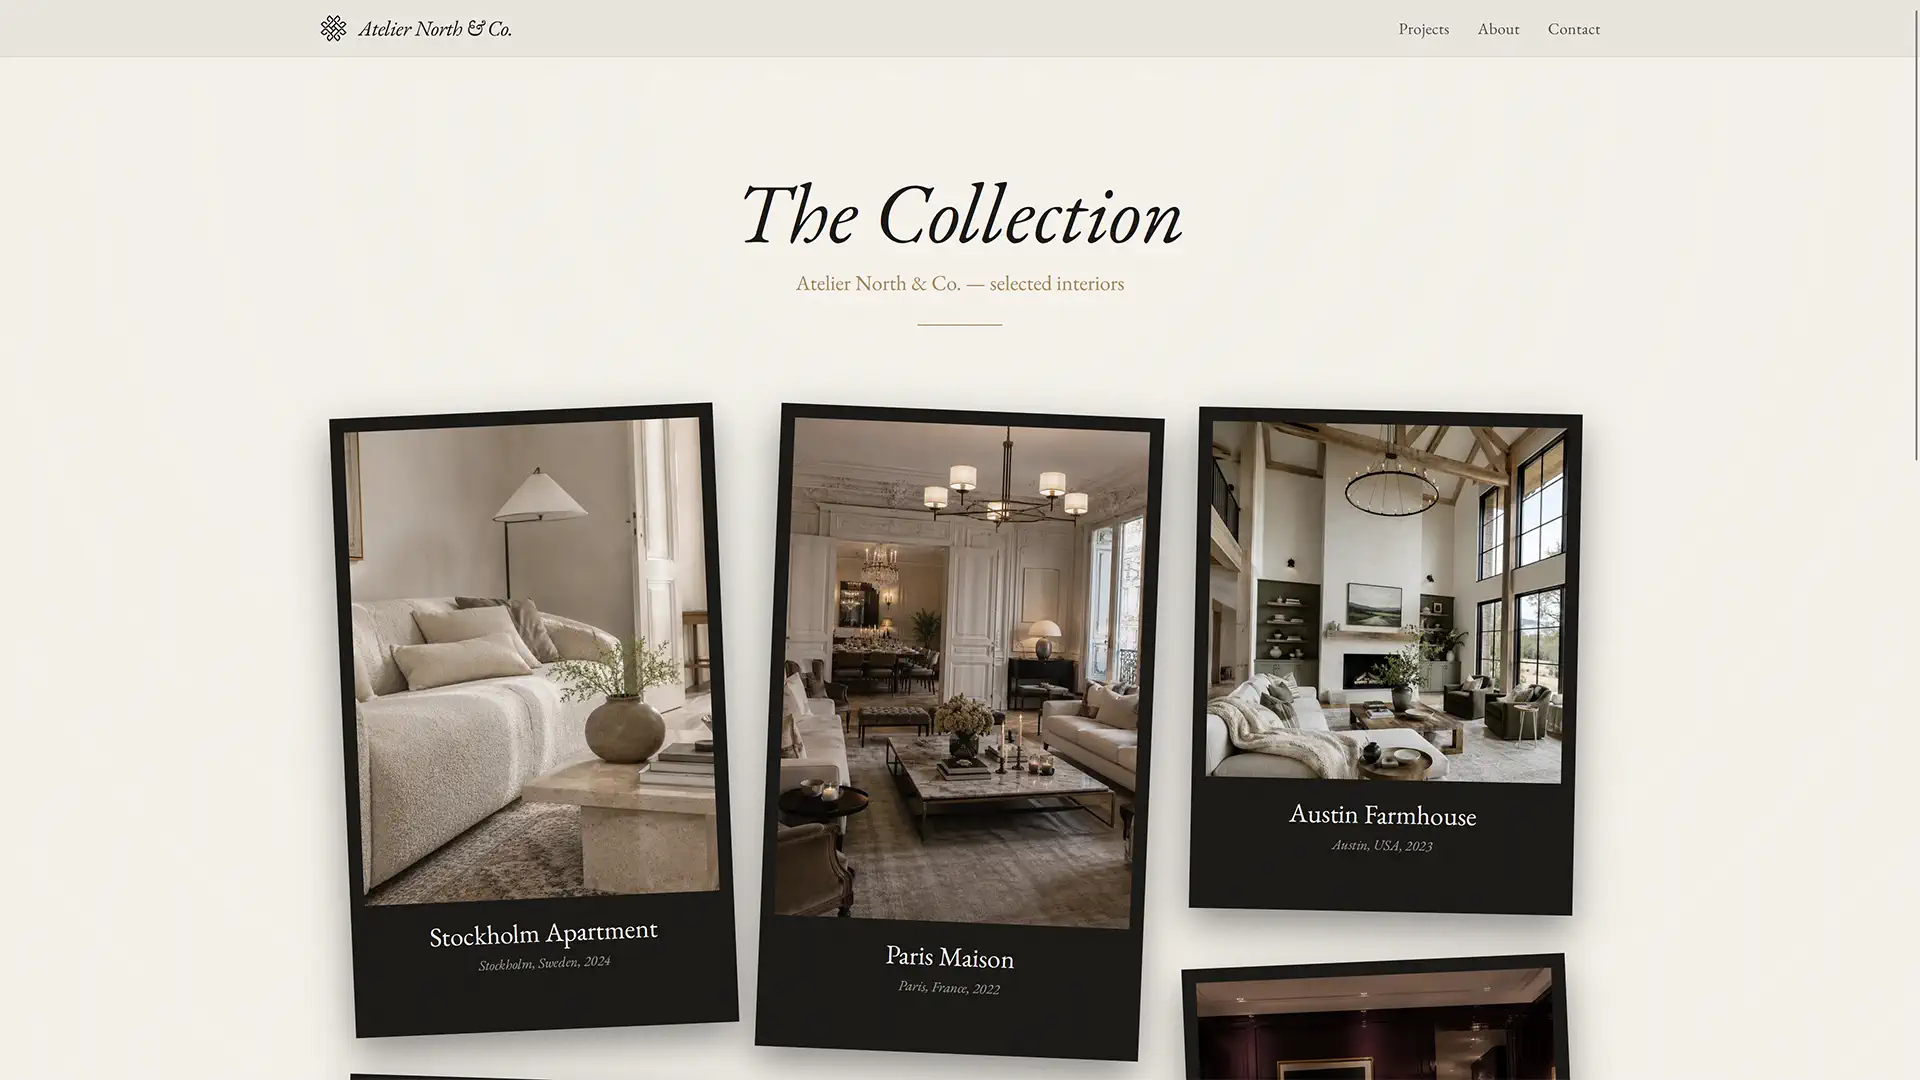
- Choose a layout that flatters your photography. Minimal grids suit airy, light-filled work;
cinematic full-bleed layouts suit dramatic, high-contrast spaces. You can preview both in the
interior design website builder.
Step 4 — Pick a format
Decide how your portfolio will live. For almost everyone the answer is an online portfolio website
first, because it is always current, shareable with one link, mobile-friendly and discoverable in
Google. From there you can export a PDF for targeted client pitches or job applications, and
reserve a printed book for premium in-person presentations.
You do not have to choose just one — the smart setup is a website as your always-on hub, with PDFs
generated from it on demand. A good builder exports a clean, professional PDF of any project in one
click, so you maintain a single source of truth instead of two portfolios that drift apart.
Step 5 — Build it (free, no code)
This is the step designers dread and it is the easiest. You do not need to hire a web designer or
learn code. Using the interior design website builder:
- Choose a real gallery template built specifically for interior design work — you preview the
actual layout, not a blank theme.
- Add your projects — upload your photography, drop in the narratives you wrote in Step 2, and
arrange the order from Step 3.
- Set up your About and contact — add your bio, photo and a contact form wired straight to your
inbox.
Most designers go from sign-up to a finished portfolio in under an hour, because you start from a
polished layout rather than a blank canvas.
Step 6 — Publish and share
With the build done, publish on a clean URL (your own subdomain or a custom domain) and start putting
it to work:
- Check it on mobile — most clients will view it on a phone first.
- Confirm the contact path is obvious on every page.
- Add the link everywhere — your email signature, Instagram bio, LinkedIn, Pinterest, business
card and proposals.
- Submit it to Google so it can be indexed and found in search under your name and niche.
- Keep it current — add new projects as they complete; a living portfolio signals a thriving
practice.
Before you go live, run through the free
interior design portfolio checklist to make sure
nothing is missing, and browse
real interior design portfolio examples for a final hit of
inspiration.
Writing an About page that builds trust
Your About page is the second-most-visited page in almost every portfolio, and it does work the
projects cannot: it turns an anonymous body of work into a person a client can imagine working with.
Resist the generic "passionate about transforming spaces" opening that every competitor uses. Instead,
lead with who you help and the kind of problems you love solving, then add your philosophy in a
sentence or two, your training or credentials, and a warm, professional photo. Keep it human and
specific. A client reading your About page is really asking one question — "will I enjoy working with
this person, and can I trust them with my home and budget?" — so write to answer it.
Where to host and publish your portfolio
Once your portfolio is built, it needs an address. You have three broad options. A free subdomain
(for example yourname.interiorportfolio.com) is the fastest way to get online and is perfectly
professional for students and early-career designers. A custom domain (yourname.com) is the
strongest choice for an established practice — it reads as more professional, builds your own search
authority, and is worth the small annual cost. Avoid relying solely on a social profile or a PDF on
a cloud drive as your only home; they are useful spokes, but they are not discoverable and you do
not control them. Whichever you choose, publish on a clean, readable URL and make sure search engines
can find it.
How long does it take to make a portfolio?
Less time than most designers fear. The build itself — choosing a template, adding projects, setting
up your pages — takes most people under an hour when their material is ready, because a
layout-based builder starts you from a polished design rather than a blank canvas. The work that
takes longer is everything before the build: editing your photography and writing your project
narratives. Budget an afternoon for that preparation and a single evening for the build, and you can
realistically go from nothing to published in a couple of focused sessions.
The trap is perfectionism. A clean portfolio with six strong projects, published this week, will win
you more work than a "perfect" one you are still polishing in three months. Ship it, then improve it.
Mistakes to avoid while building
A handful of mistakes account for most weak portfolios. Steer around them as you build:
- Including everything. Curate. A few outstanding projects always beat a long, uneven list.
- Skipping the narrative. A grid of images with no context leaves clients guessing what you did.
- Inconsistent photography. Mismatched lighting and resolution undermine the whole gallery.
- Burying the contact path. If enquiring is not obvious within seconds, visitors leave.
- Designing for desktop only. Most clients view on a phone first — check the mobile layout.
- Waiting for perfect. An unpublished portfolio wins no work at all.
Keep improving after you launch
Publishing is the start, not the finish. As each new project completes, ask whether it is stronger
than your current weakest piece — if it is, swap it in. Revisit your narratives and About page a few
times a year to keep your positioning aligned with the work you want, and refresh your photography as
your standards rise. A portfolio that visibly evolves signals a practice that is growing, which is
exactly the impression that turns a browsing visitor into an enquiry.
Knowing what to leave out
Beginners ask what to put in; professionals know the harder skill is deciding what to leave out. Your
portfolio is judged on its weakest visible project, not its strongest, so anything that does not meet
your standard actively costs you. Leave out projects with poor photography, work that no longer
reflects the direction you want, and anything you included only to pad the numbers. The same applies
within a project: show the images that advance the story and cut the rest. If you find yourself
justifying why something is "still worth including," that is usually a sign it is not. A lean,
confident portfolio of strong work always beats a comprehensive one diluted by filler.
Promoting your portfolio once it is live
A finished portfolio is not the end of the job — it only works if people see it. Put the link
everywhere it can do work: your email signature, your Instagram and other social bios, your LinkedIn,
your business cards, and the footer of every proposal you send. Share new projects as posts that link
back to the full case study on your site, so social activity feeds your portfolio rather than
replacing it. If you serve a local area, make sure your location appears naturally in your copy so you
can be found by nearby clients. The portfolio is your hub; everything else should point traffic toward
it.
A few questions designers ask when starting out
A couple of recurring worries are worth addressing directly. Do I need a custom domain straight
away? No — a clean subdomain is perfectly professional to start, and you can add a custom domain
later. What if my photography is not perfect? Consistency matters more than perfection; shoot in
good daylight and keep a uniform feel across the gallery. How many projects is enough to launch?
Three to six strong projects are plenty to go live — you are far better publishing a tight portfolio
now and adding to it than waiting for a "complete" one that never quite arrives. The recurring theme:
do not let perfectionism keep your work invisible.
That's it — six steps from blank page to a portfolio that wins clients.